Make these oh so cute baby dribble bibs with our free tutorial!

Make the cutest boho baby dribble bibs with our free pattern! Mop up that drool with the prettiest of baby bibs, featuring lace, pom-poms, and ribbon ties.
Working with AGF fabrics on their look book for their latest collection with Bonnie Christine ‘Wild Forgotten’, we could not resist making these bibs seriously boho! The whimsical fabrics featuring images from nature felt like a fairytale to us, so we just had to make them into treasures for children. Quick and easy to whip up, these are a go-to make for a baby shower gift.
Bonnie’s collection was inspired by a story of a well known Children’s dictionary, having only a limited amount of words, having to remove words such as ‘dandelion’ ‘bluebell’ and ‘doe’ to make way for words used more commonly used by our children, such as ‘blog’ and ‘broadband’ . This collection of fabrics aims to keep these words alive by using them in her designs and inspiring us to teach our children about nature.
These reversible bibs can be turned around to match your baby’s outfit or when they just get a bit too wet! here we have used two pieces of lightweight cotton but flannel would also be a good option.
Please do not leave your baby unsupervised while wearing these bibs as they can be pulled and slip over the face or neck ties can become caught. Use responsibly and at your own risk.
For one bib you will need:
Your free Baby bib template can be downloaded here
-
2 x fat quarters of coordinating 100% cotton fabric. We used AGF 100% cotton, Wild Forgotten range.
-
Broidery anglaise linen/cotton ribbon (optional)
-
1m Mini pom-pom trim
-
1m Plain linen ribbon for ties
-
Sewing machine cotton to match the fabric.
-
Fabric marking pen/pencil/chalk
-
pins
-
Fabric scissors
-
Small sharp scissors
-
Sewing machine
-
Hand sewing needle

Step 1
-
Print and cut out the baby bib template. Fold your fabric lengthways, making sure that the pattern is the right way up. Lay out the baby bib pattern on the fold of your fabric, pin and cut. For a reversible bib; cut two contrasting fabrics, if you want it the same on both sides, cut two of the same fabric.
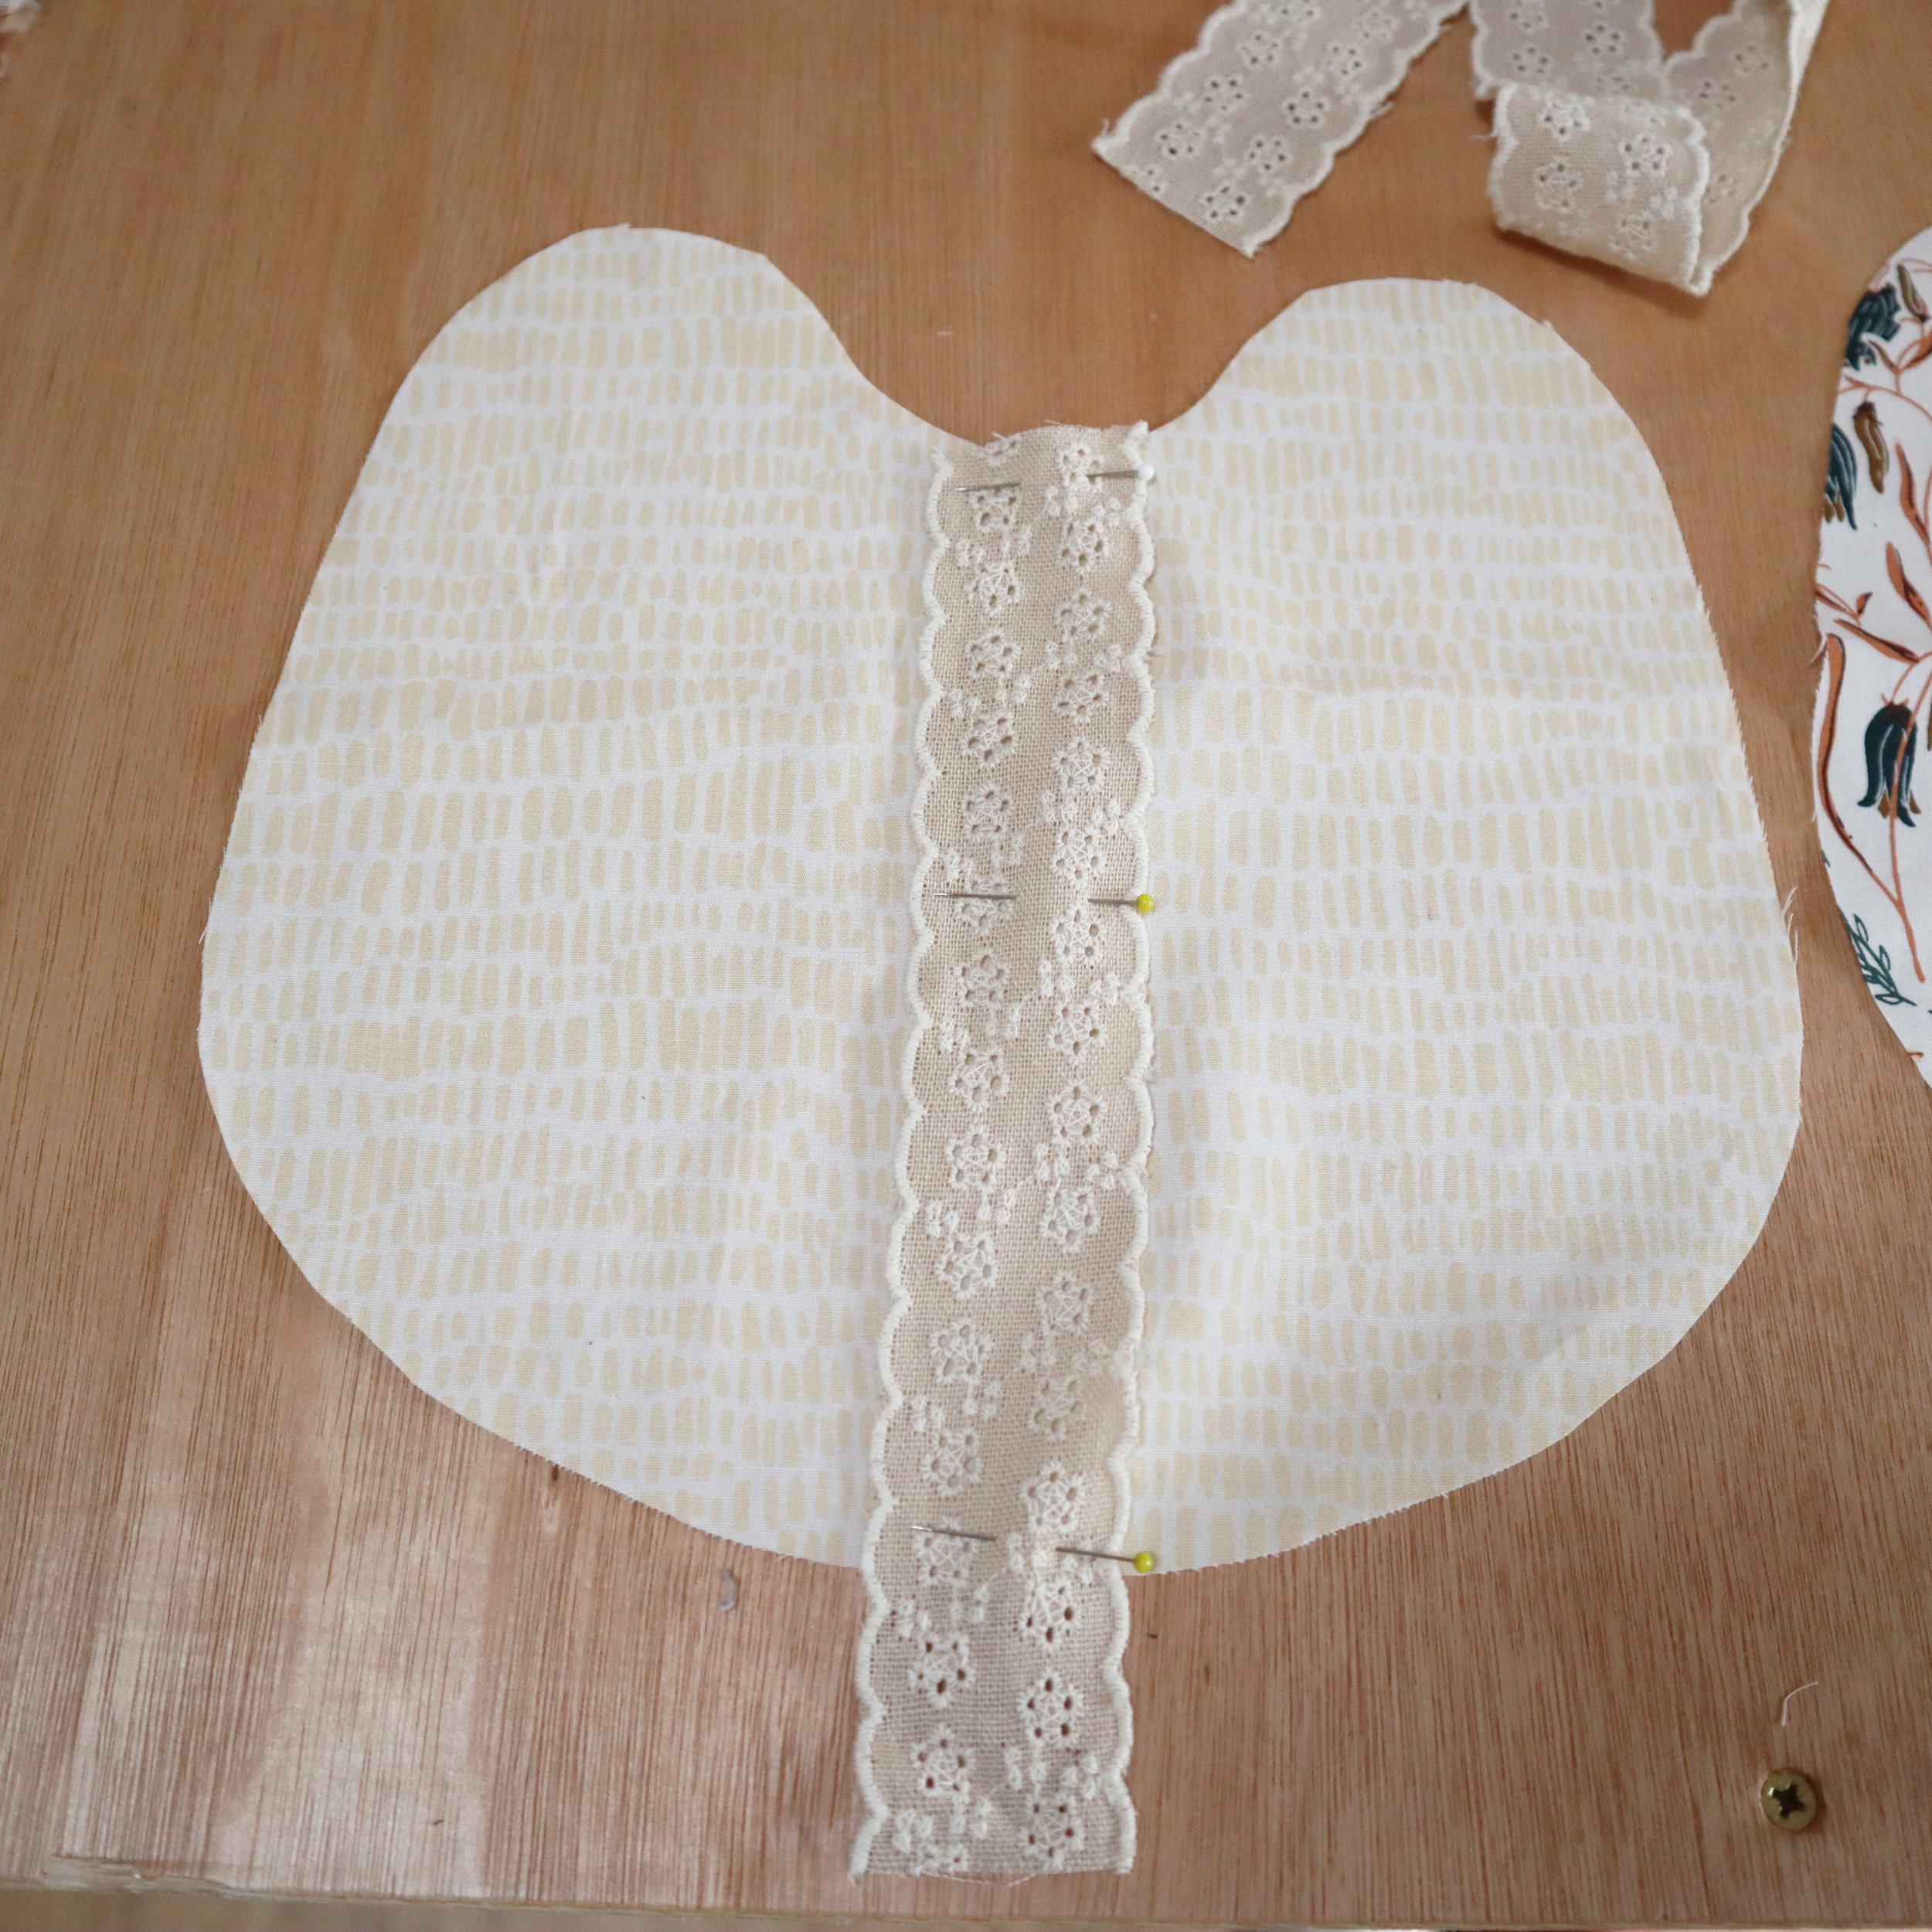
Step 2
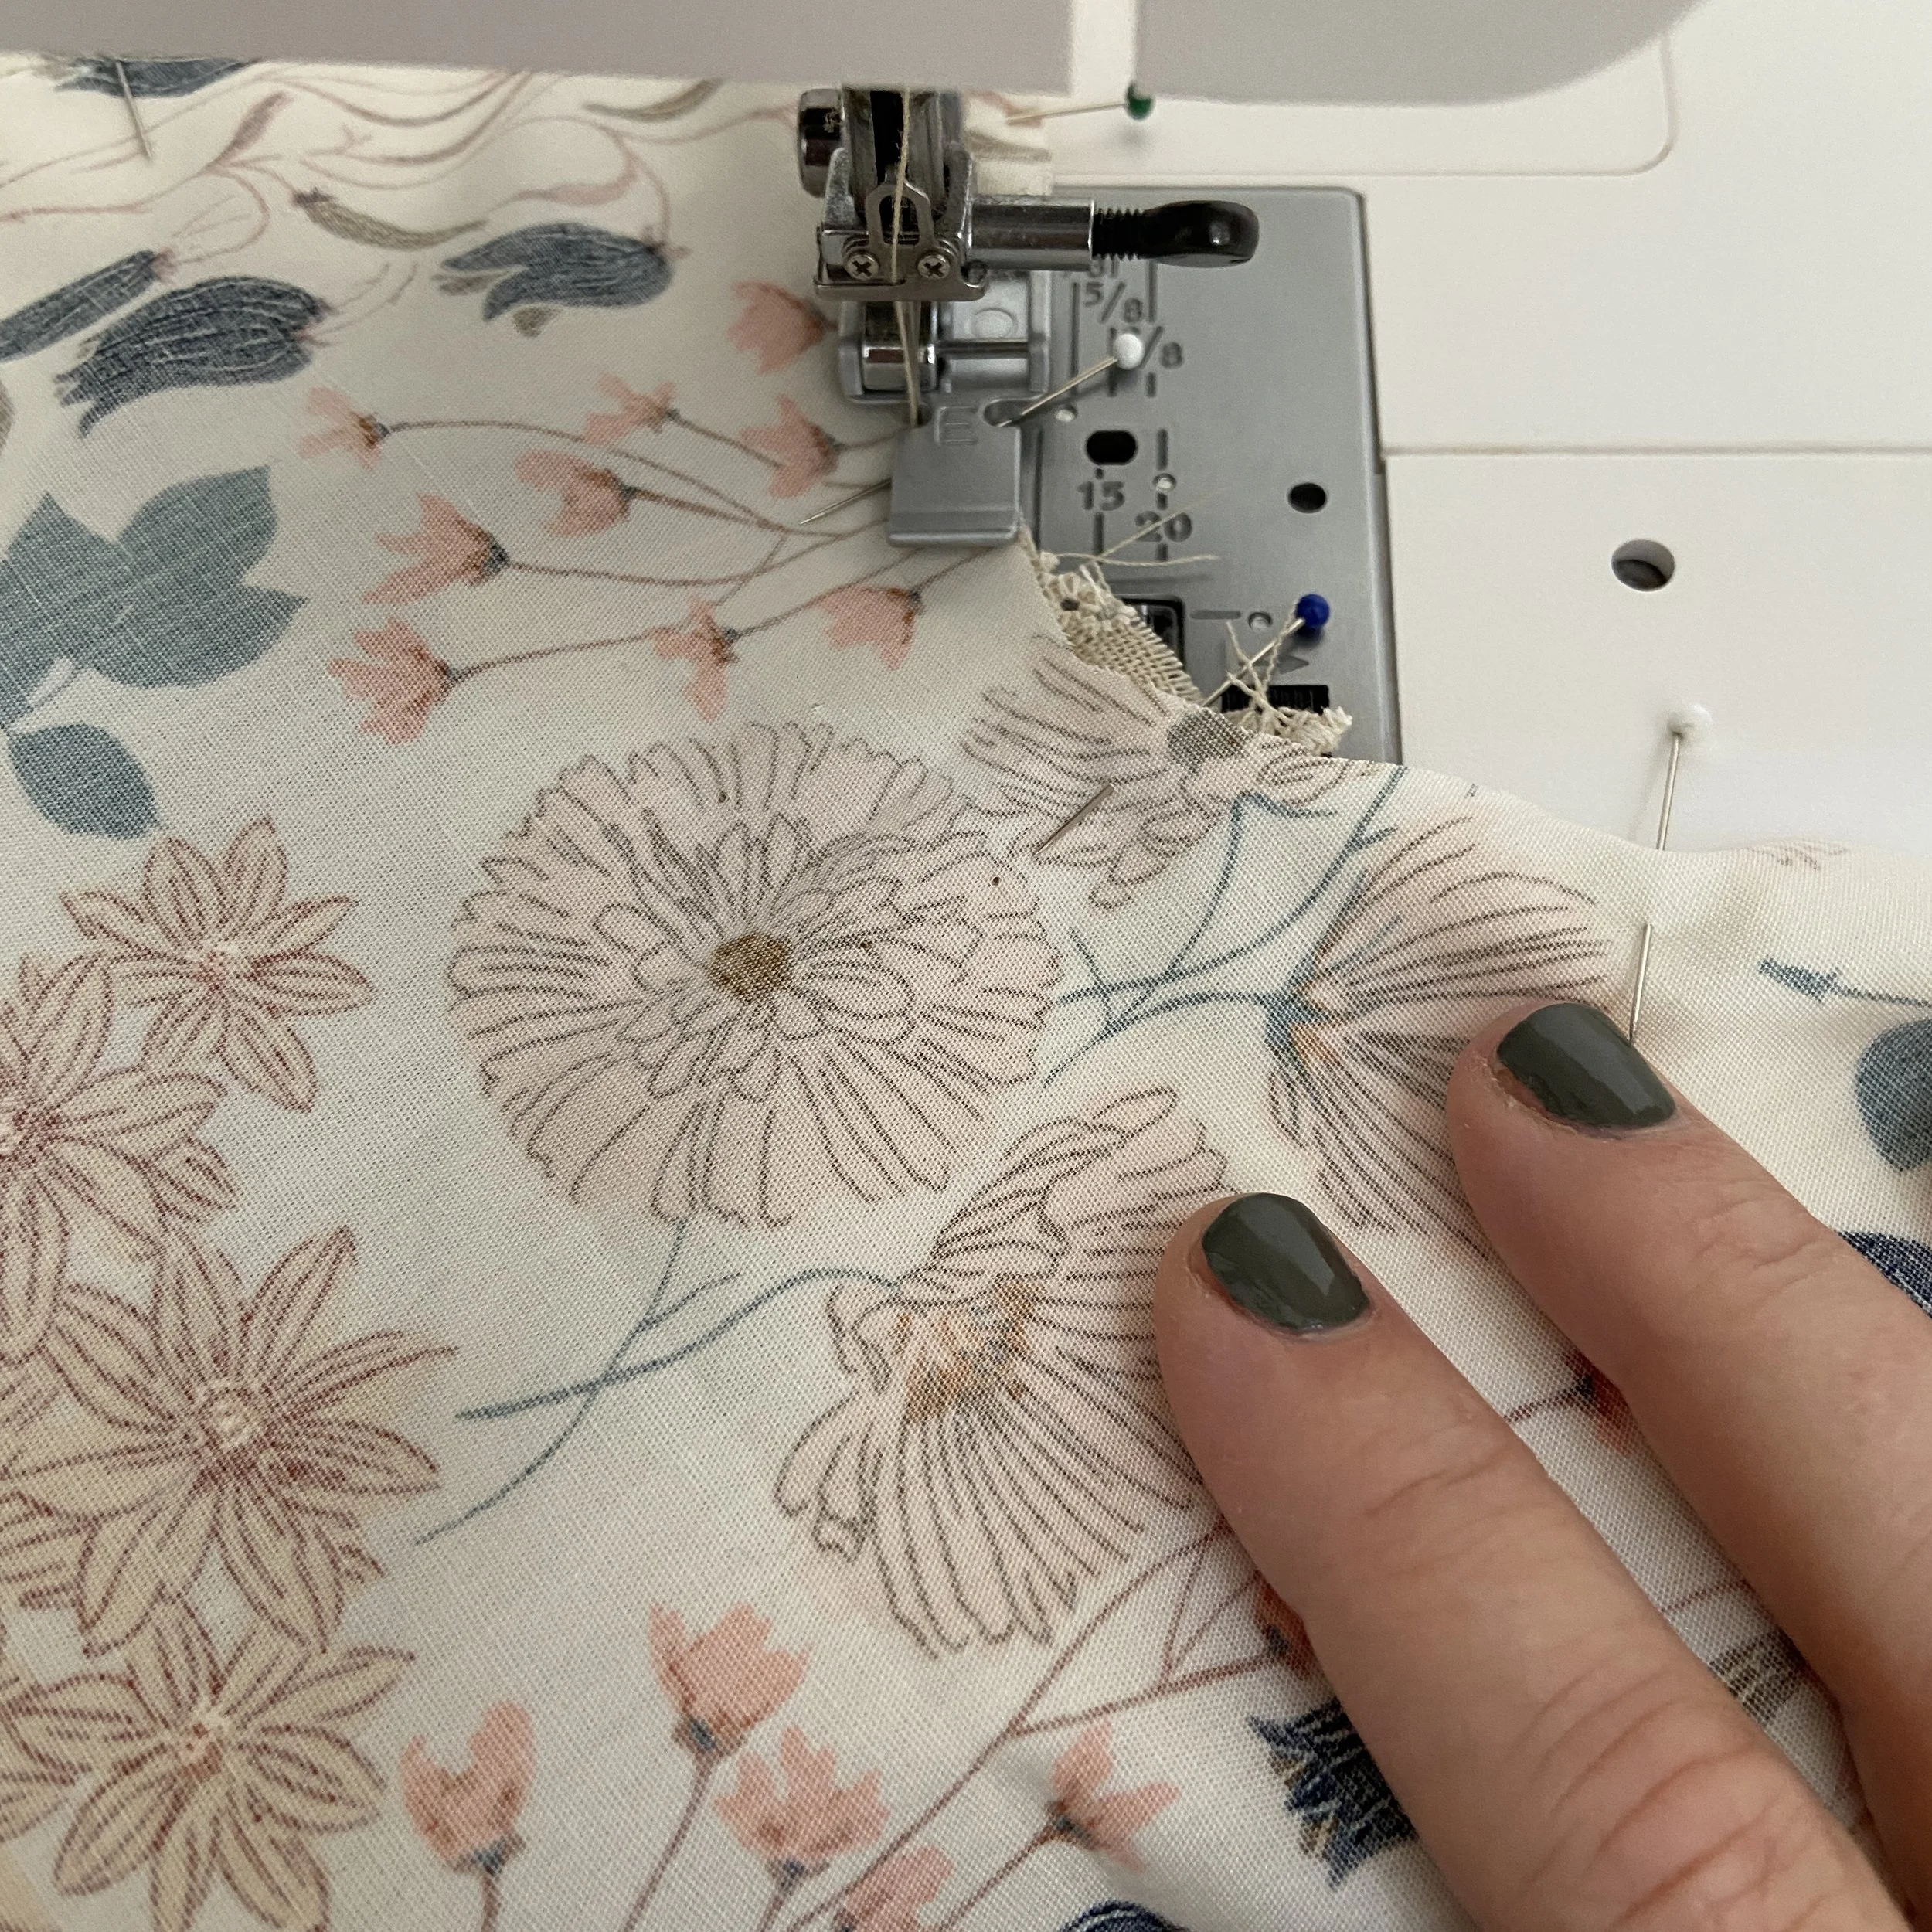
2. For the lace detail (optional). Pin your Broidere Anglaise ribbon to the front piece of the bib, matching the centre of the bib to the centre of the ribbon at each end. Sew in place down each edge of the ribbon with a thread that matches the ribbon, avoiding sewing over any scallops or decorative elements if possible. Here I have used a zipper foot on the sewing machine as i find it easier to miss these elements with it on and we will need it on for the rest of the project.

Step 3
3. On the front piece of your bib, right side facing upwards, pin the mini pom-pom trim around the edge of the fabric with the bobbles facing inwards. Using the zipper foot on your sewing machine, stitch the bobble trim to the fabric along the cord. Using the zipper foot on your sewing machine makes sewing on the pom-pom trim much easier as the foot can be placed near to the pom-poms without catching them.
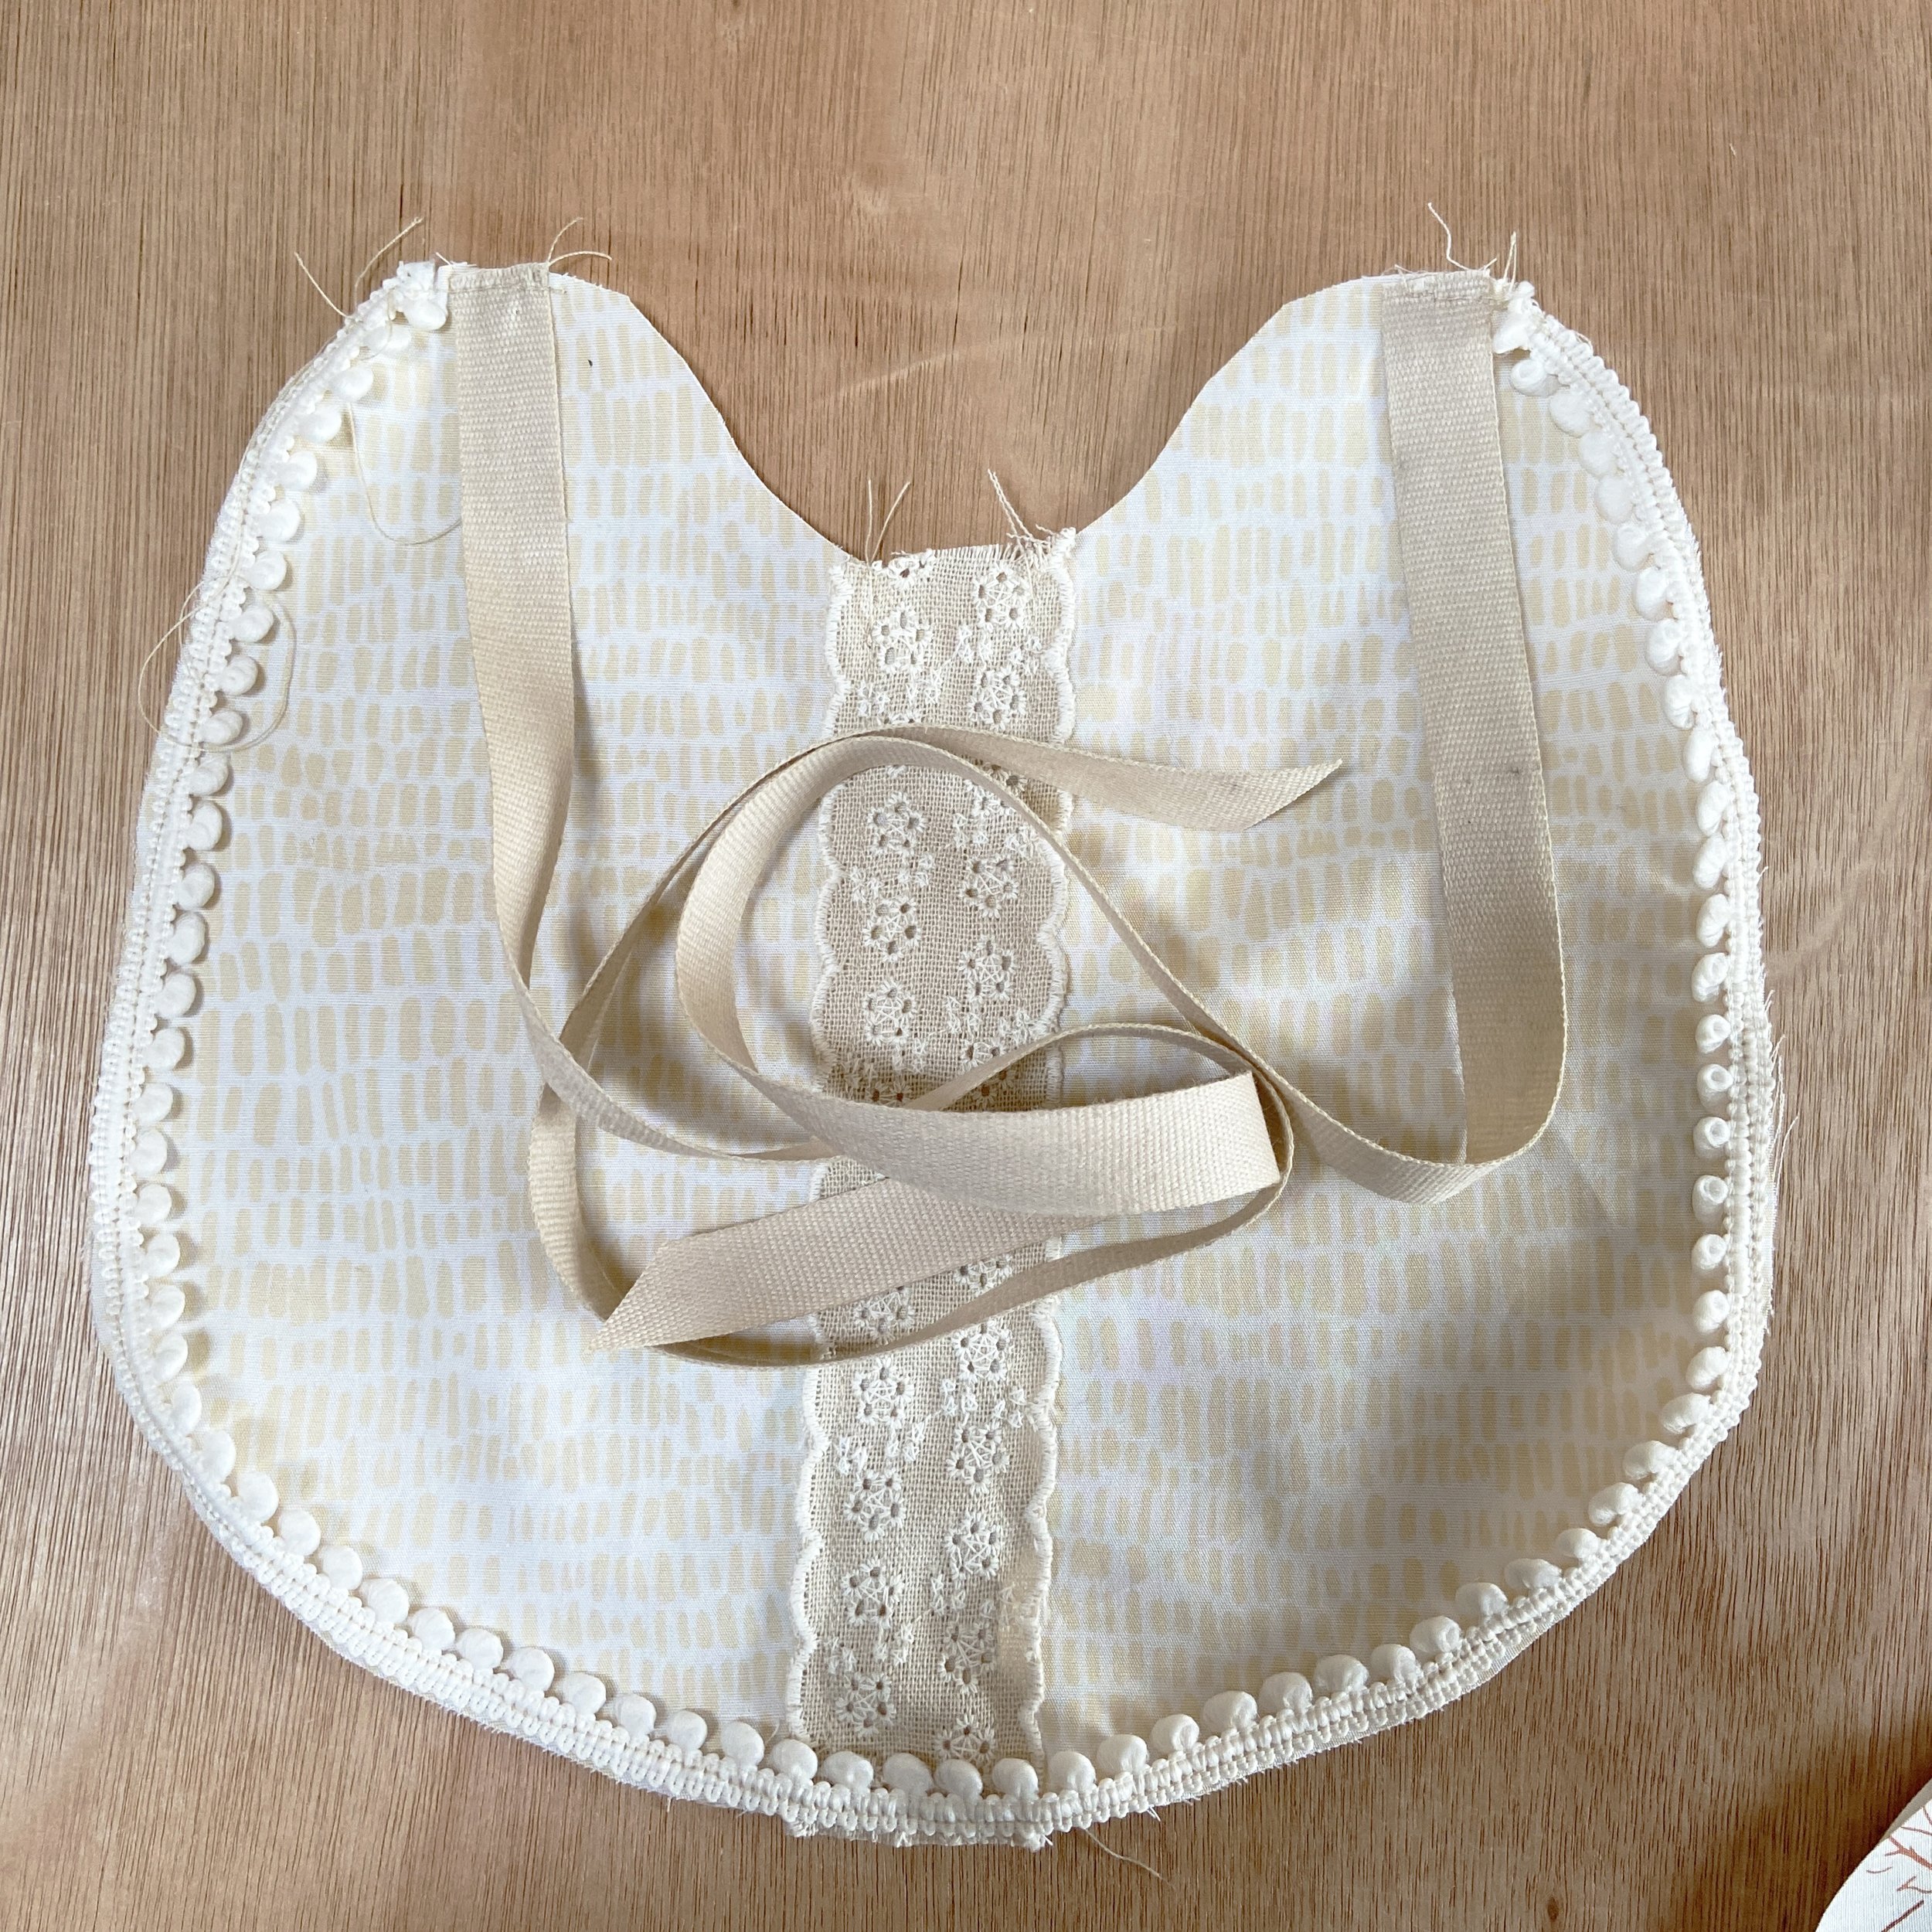
Step 4
4. Take your ribbon for the neck ties and pin them to the right side of the front piece of the bib at the top ( marked with a dot on your pattern). Make sure that the length of the ribbon is down over the bib. Sew these in place across the top edge within the seam allowance.
Step 5
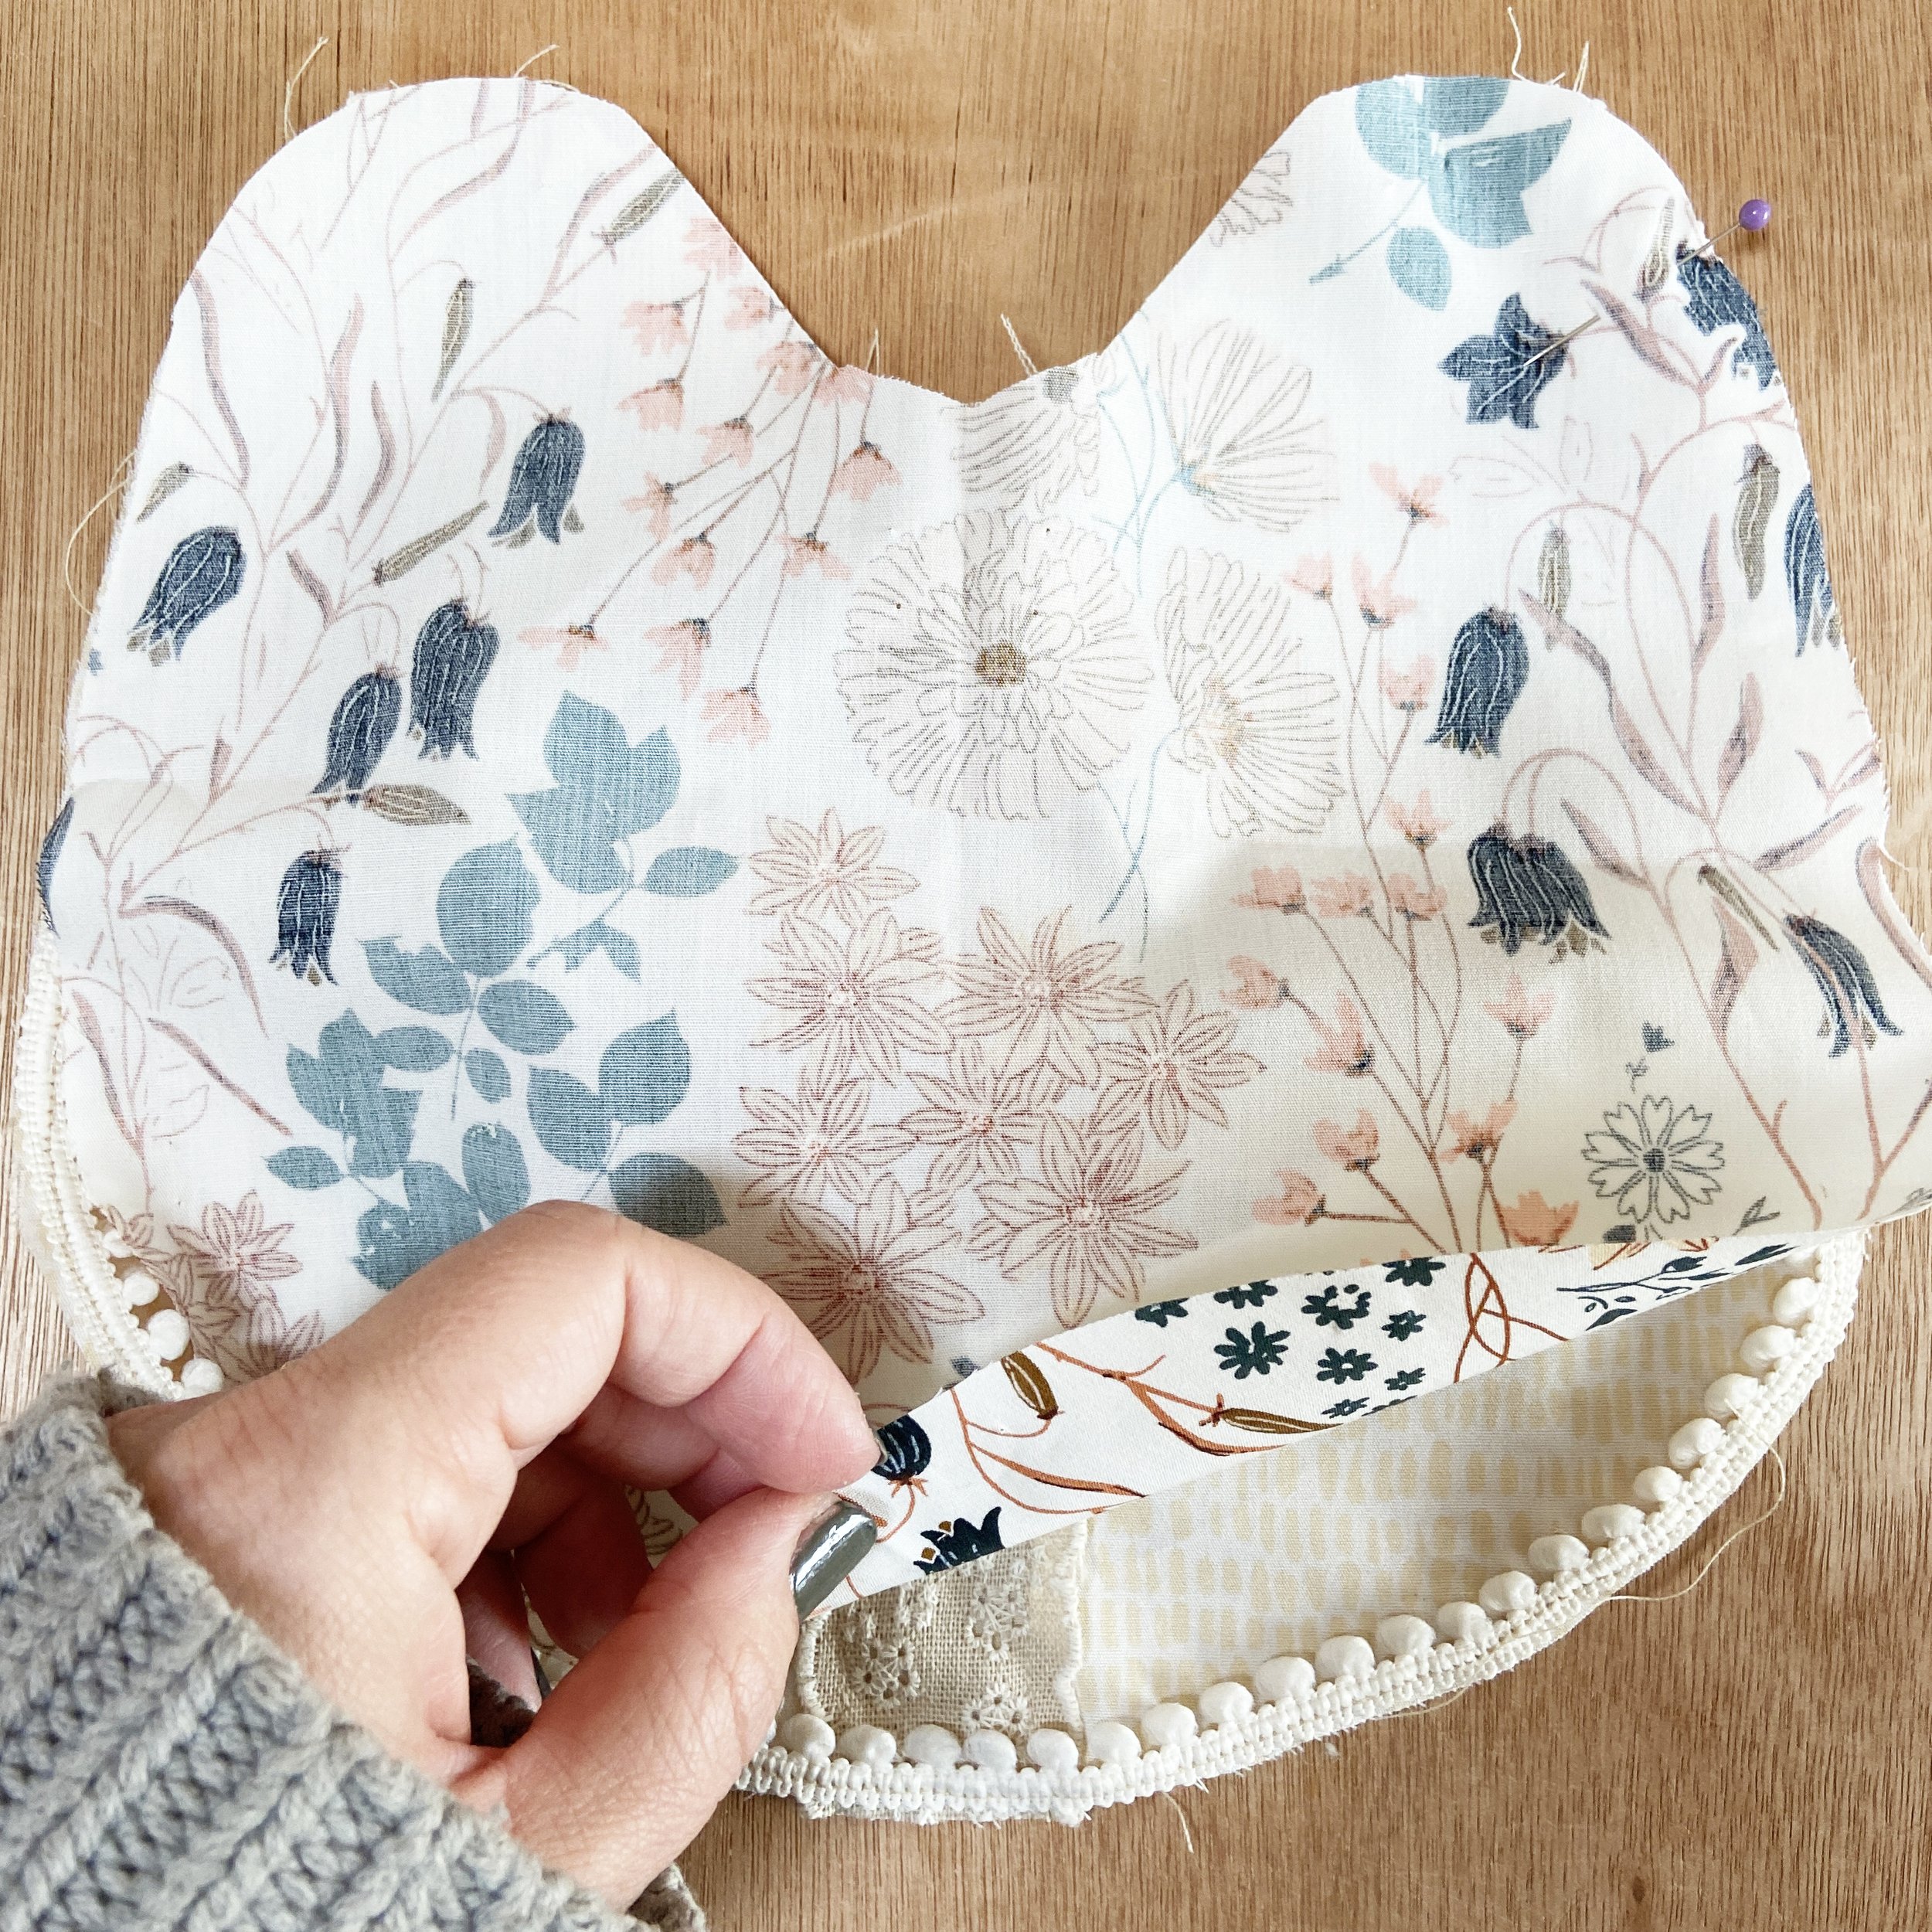
5. Bundle the ribbon into the middle of the bib. Take your second piece of fabric and lay it over the top, right sides together. Pin together around the edge taking care not to trap any of the neck ties into the seams.
Step 6
Sew around the edge of the bib, close to the pompoms but taking care not to sew over the pompoms, (your seam allowance will depend on how thick the cord on your bobble trim is), leaving a gap at the bottom edge big enough to pull the bib through. with some sharp scissors clip into the seams every 1cm or so on the curves so that the seams will sit flat when you turn it right sides outwards. Turn through the gap so that the bib is the right way out.
Step 7
7. Turn the bib through the gap so that the bib is the right way out. Turn the seam allowances of the gap[ inwards. and press. With a thread matching your fabric sew the hole closed using ladder or slip stitch on the seam to create an invisible join. Give the whole bib a good press to neaten the seams and make it lie flat. If you prefer you can also topstitch the edge to neaten.

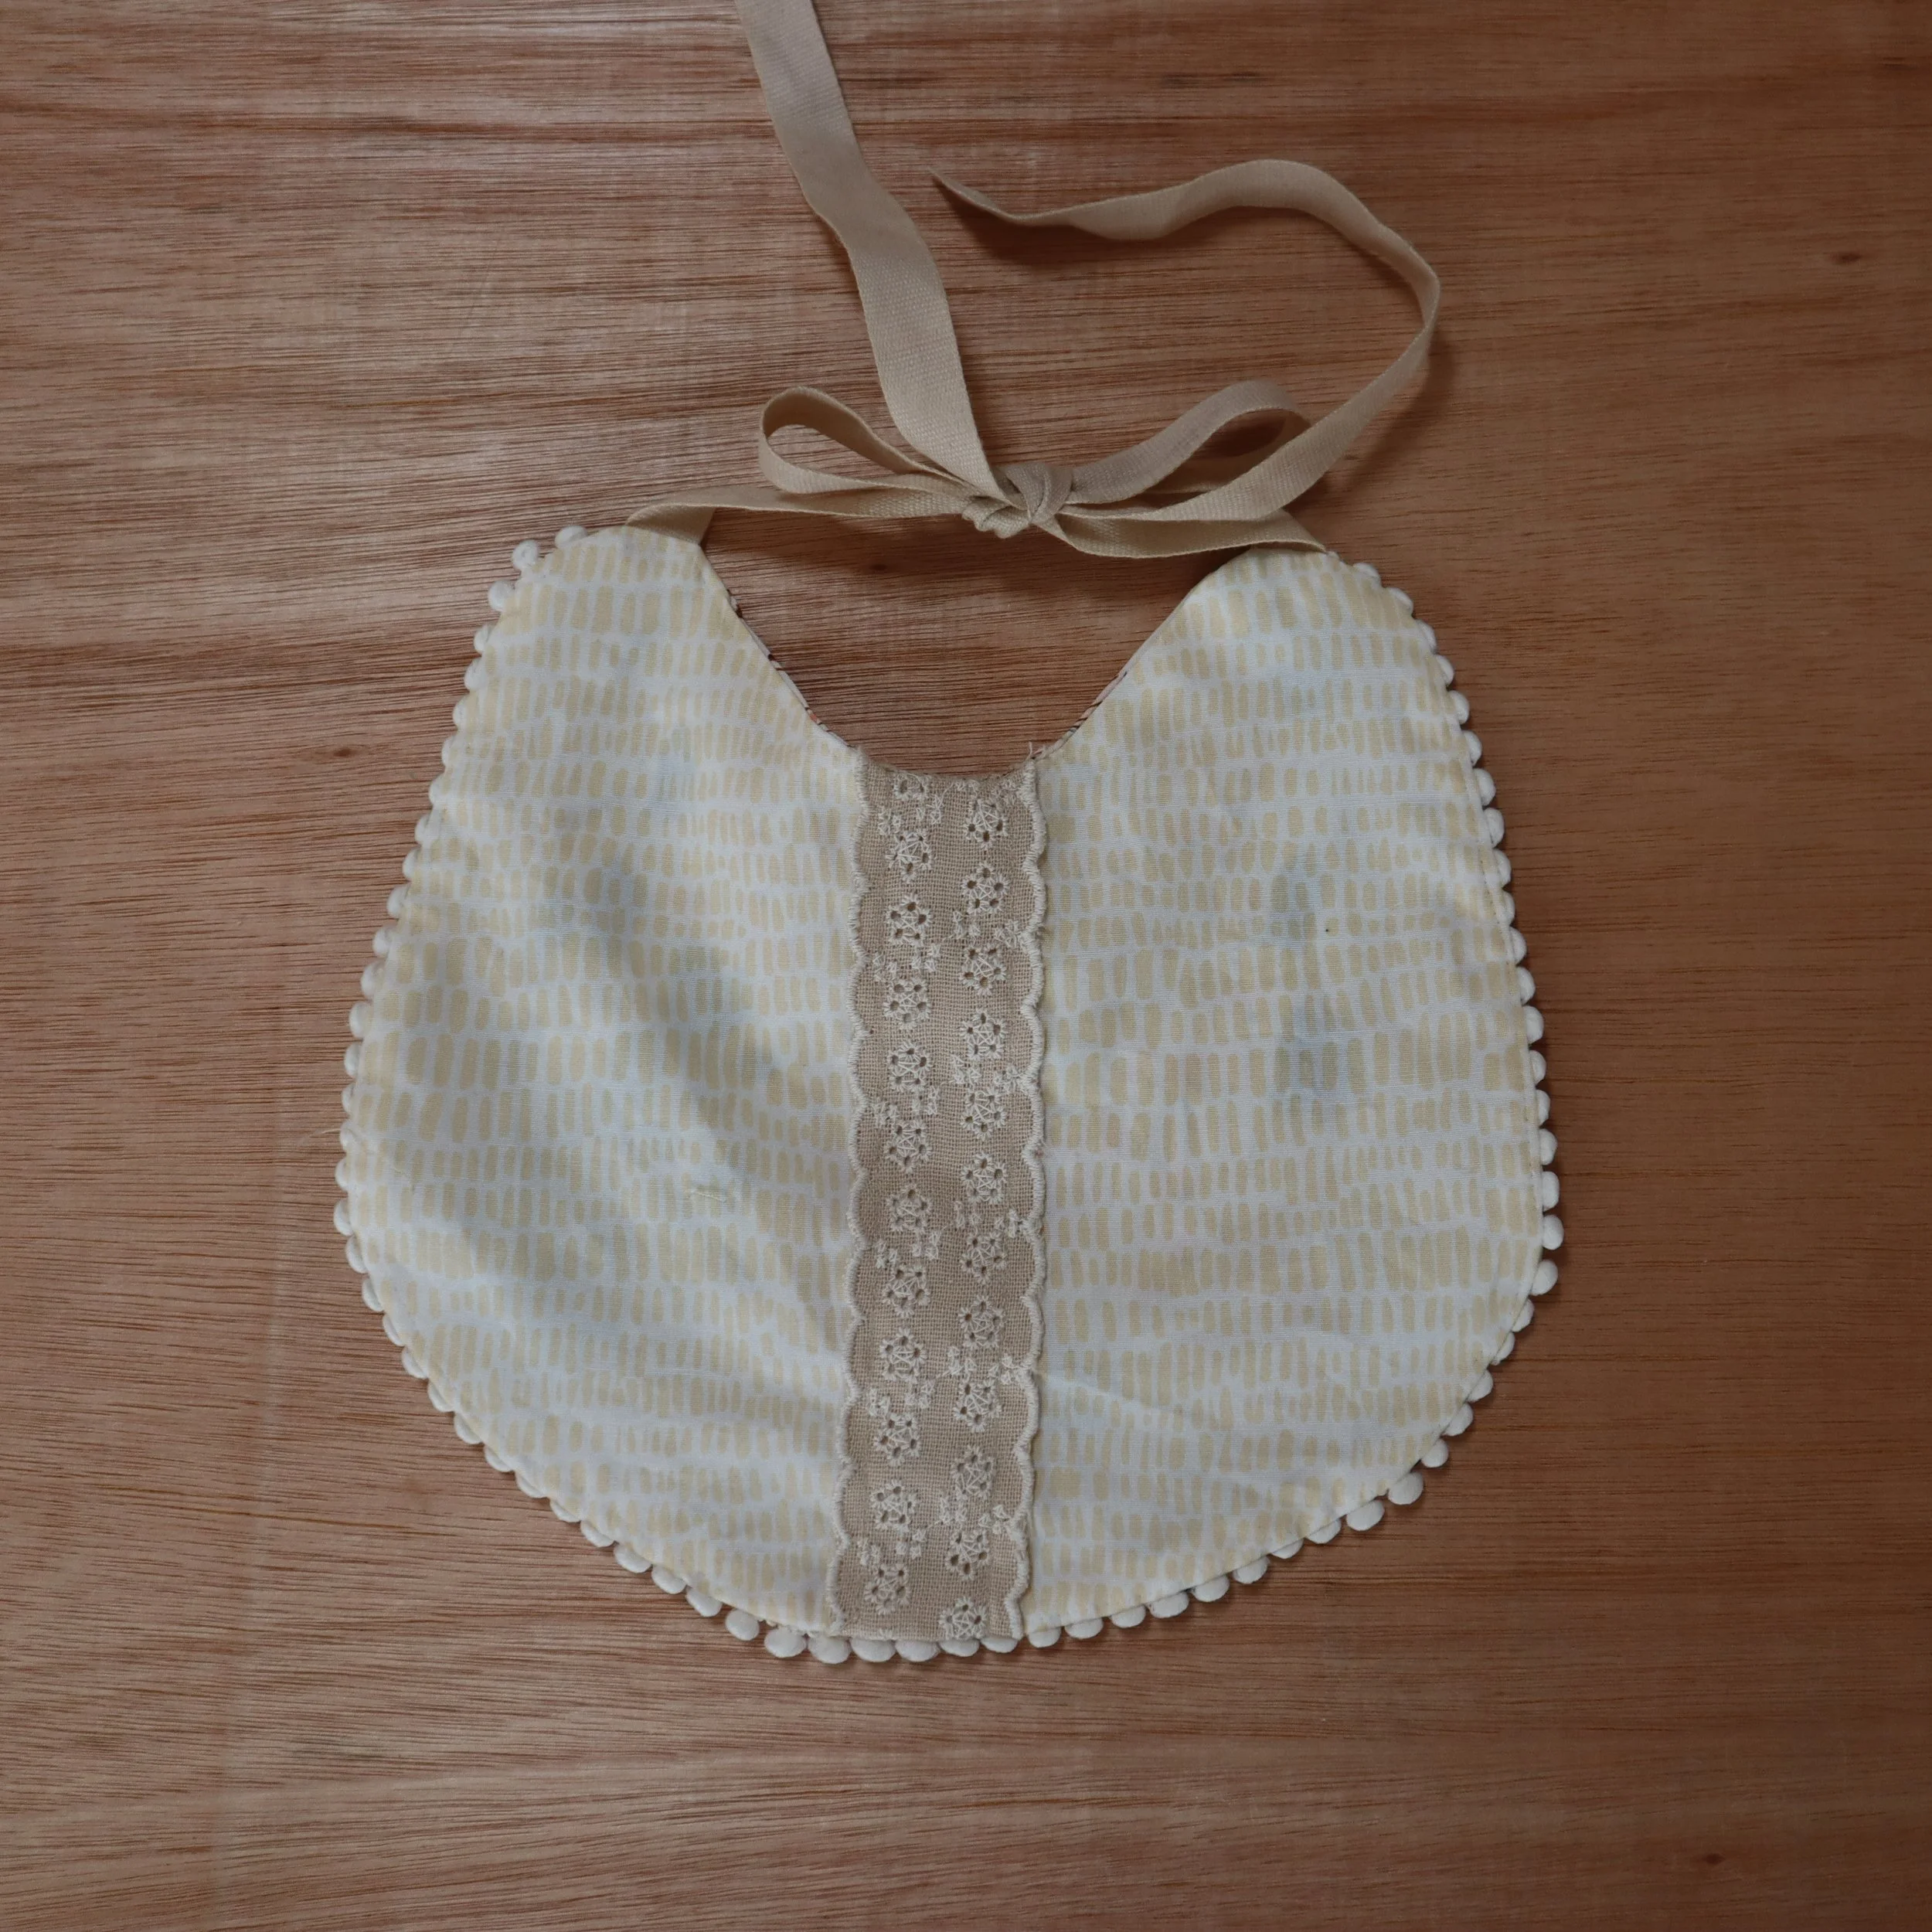
Finished bibs
We hope you enjoyed our free boho baby bib tutorial and that you and your little one get a lot of pleasure from using them. You can also make a matching Bunny comforter using the same collection of fabrics click here to be taken to the tutorial! Happy stitching!
If you have any questions please do get in touch in the comments below.