Originally written for Love Embroidery Magazine this tutorial is one of many that our founder Louisa has written for the magazine! We will be sharing a different tutorial on the blog each week so keep your eyes open for the next one! Follow us on instagram @stitchhappystudio and Pinterest Stitch Happy to keep up to date with all of the new content coming your way.
With a cute neutral rainbow design this lunch bag with wipeable interior is great for adults and children alike. This easy sewing tutorial is suitable for beginners and you will soon be filling your cupboards with these handy little bags. The perfect size for sandwiches they will also keep other snacks such as fruit and nuts safe inside the eco-friendly wooden button closed pouch.
We used a eco-friendly GOTS certified Organic cotton for the outside and an Organic cotton coated with a food-safe PUL for the inside. This makes them wipeable on the inside and they can also be thrown into the washing machine when they need a good clean!
YOU WILL NEED
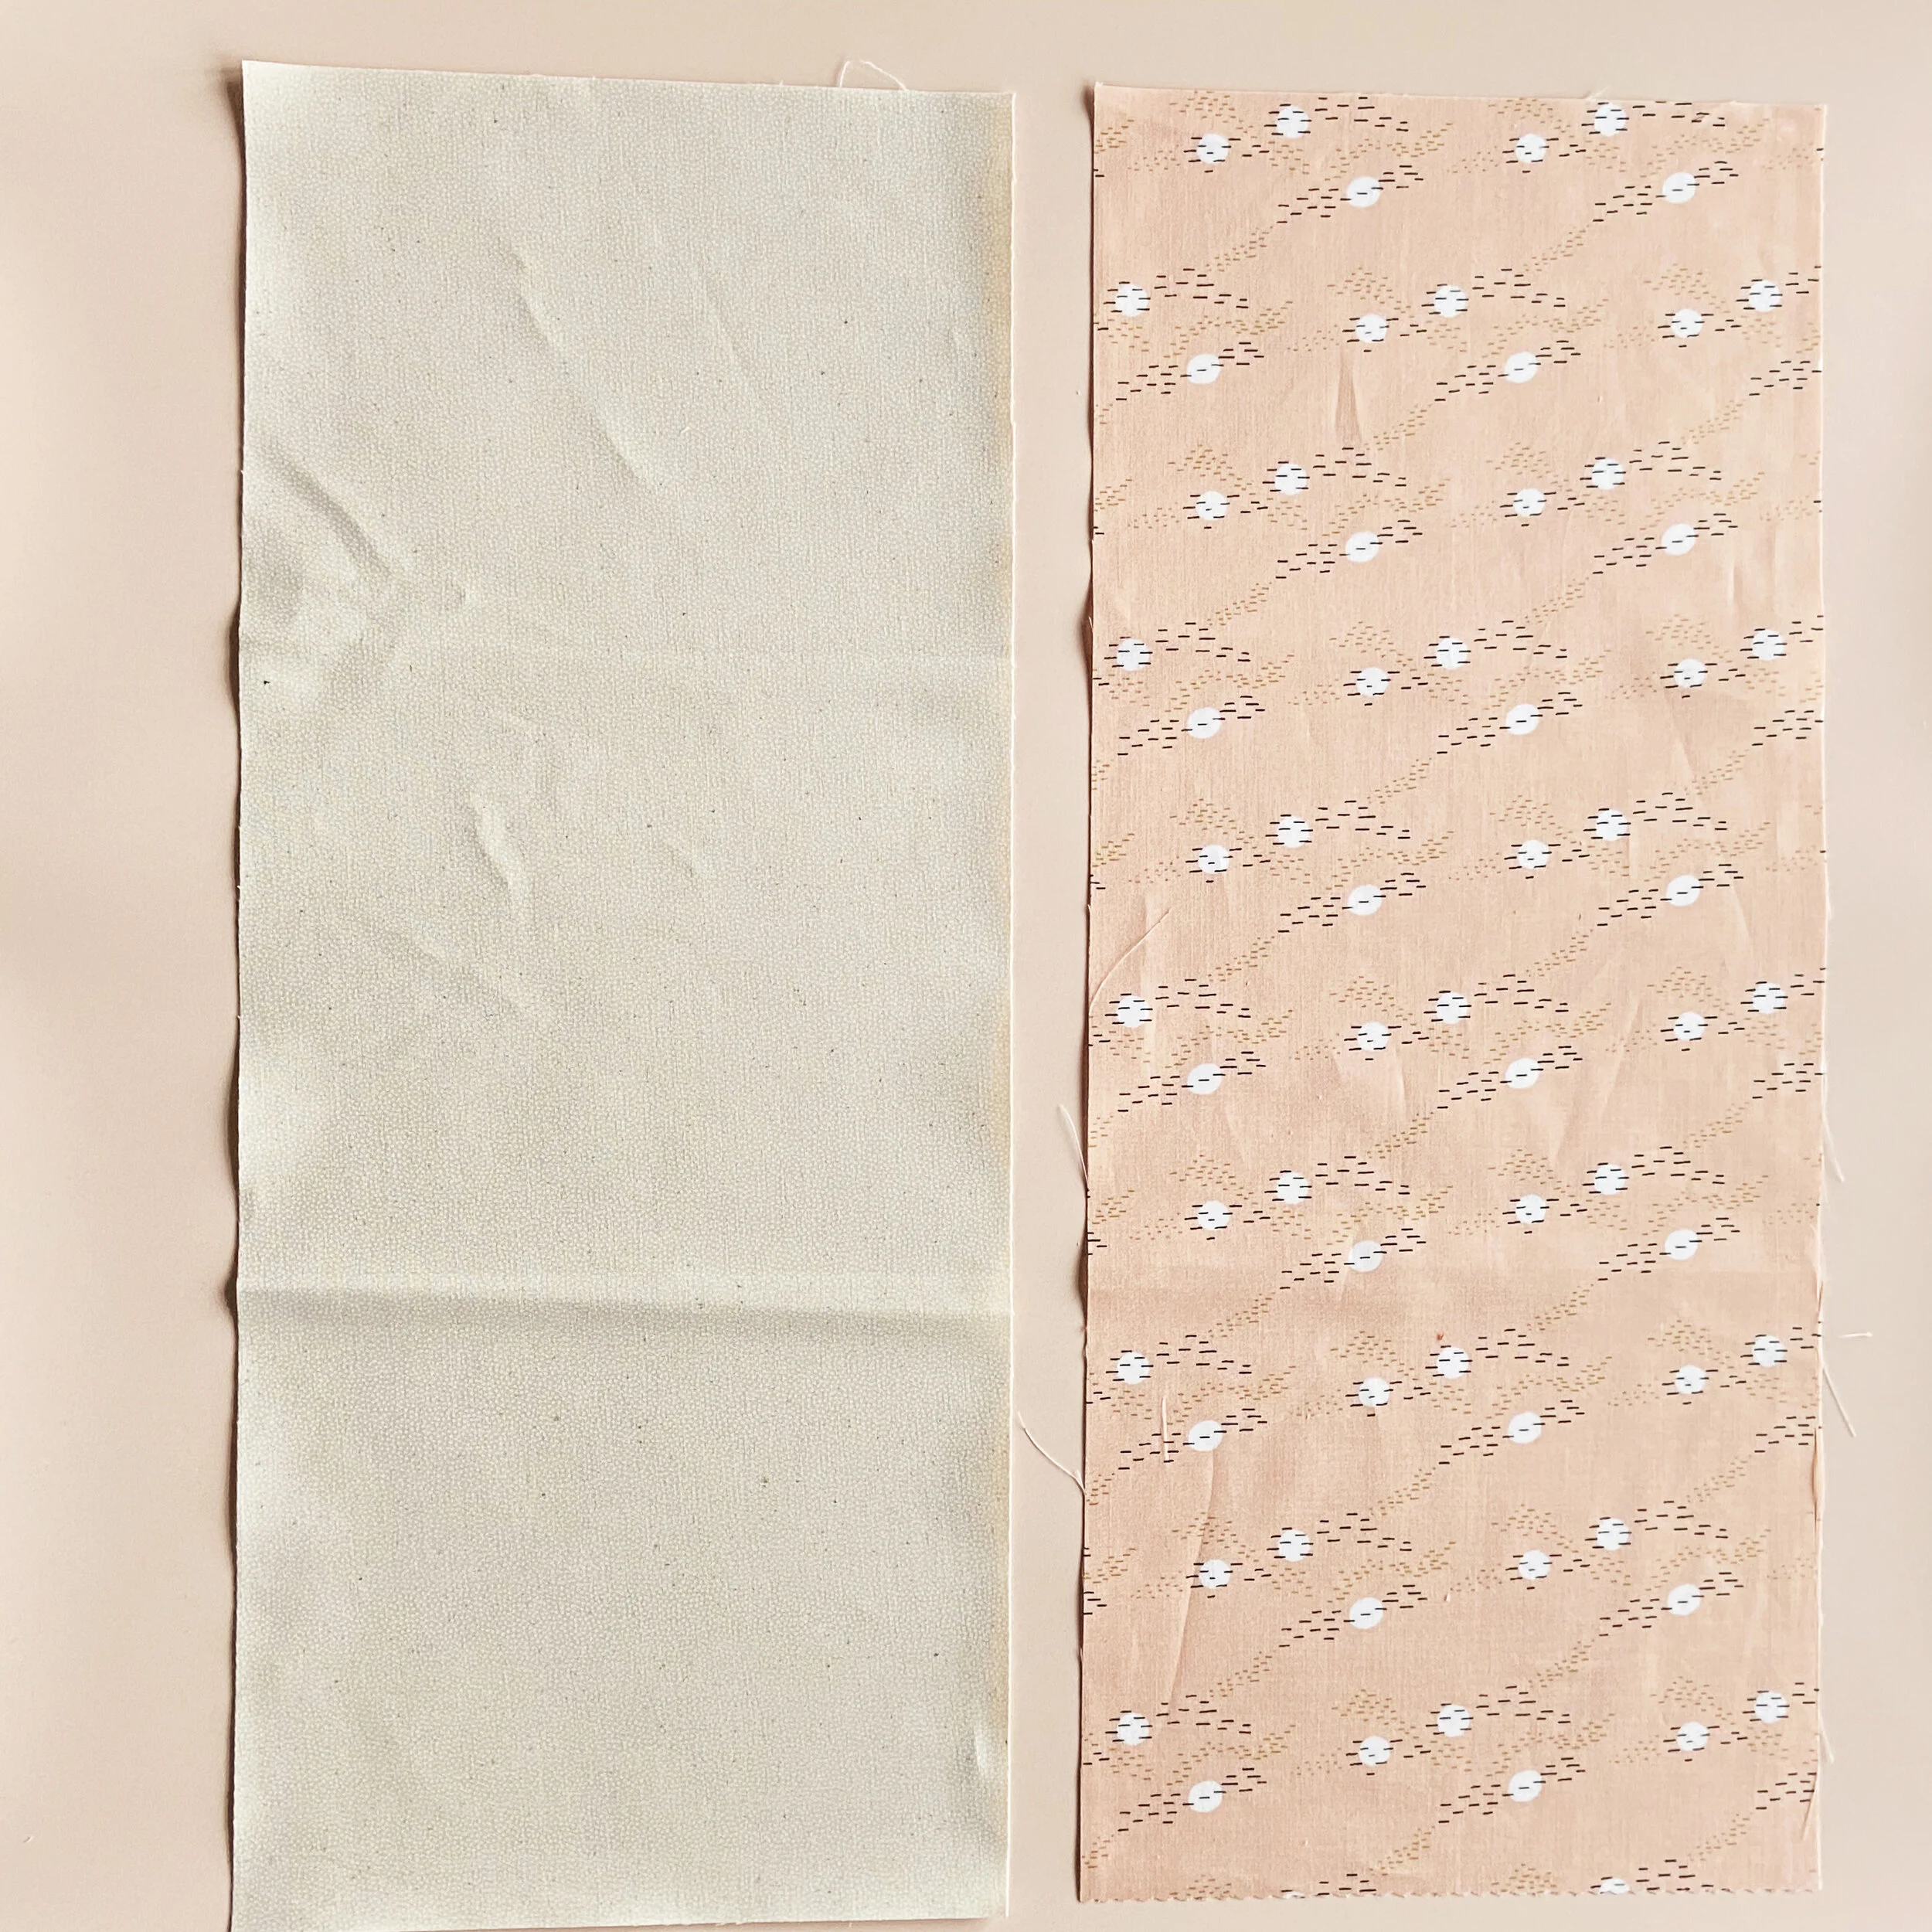
1x piece of patterned fabric 54cm x 22cm – we used GOTS certified Organic fabric ‘Far above’ by cloud nine fabrics, we think it would also look cute with Cloud 9 Arid Wilderness - Terrazzo Stone Tan
1x piece of waterproof fabric 54 x 22cm – we used natural organic cotton coated in a food safe PUL coating
Scraps of fabric to make up the rainbow. We used cloud nine fabric in grass, cinnamon, blush, ash and Ivory.
1x piece of bondaweb 30cm x 30cm approx
Embroidery needle
Machine sewing thread in pink
Embroidery thread in black DMC 310
Button 2cm in diameter - we used a wooden button
Pencil
Embroidery stitches Used - French knot
Special tips
1. To make your French knots super neat, keep the thread in the other hand to your needle very taught as you pull the needle through, this will help keep the knot close to the fabric.
2. To align the button and button hole perfectly, mark through the centre of your open button hole with an erasable pen before you stitch on the button
3. To make the corners of your bag super neat, clip off excess fabric and poke the corners carefully with a knitting needle or chopstick.
Step 1
Cut the two pieces of fabric into rectangles measuring 54cm x 22cm.
If the fabric is patterned you need the pattern to be the right way up when you fold the two short ends into the middle. The outside of the bag should be a cotton fabric and it is best if the inside of the bag is wipeable for ease of cleaning.
Step 2
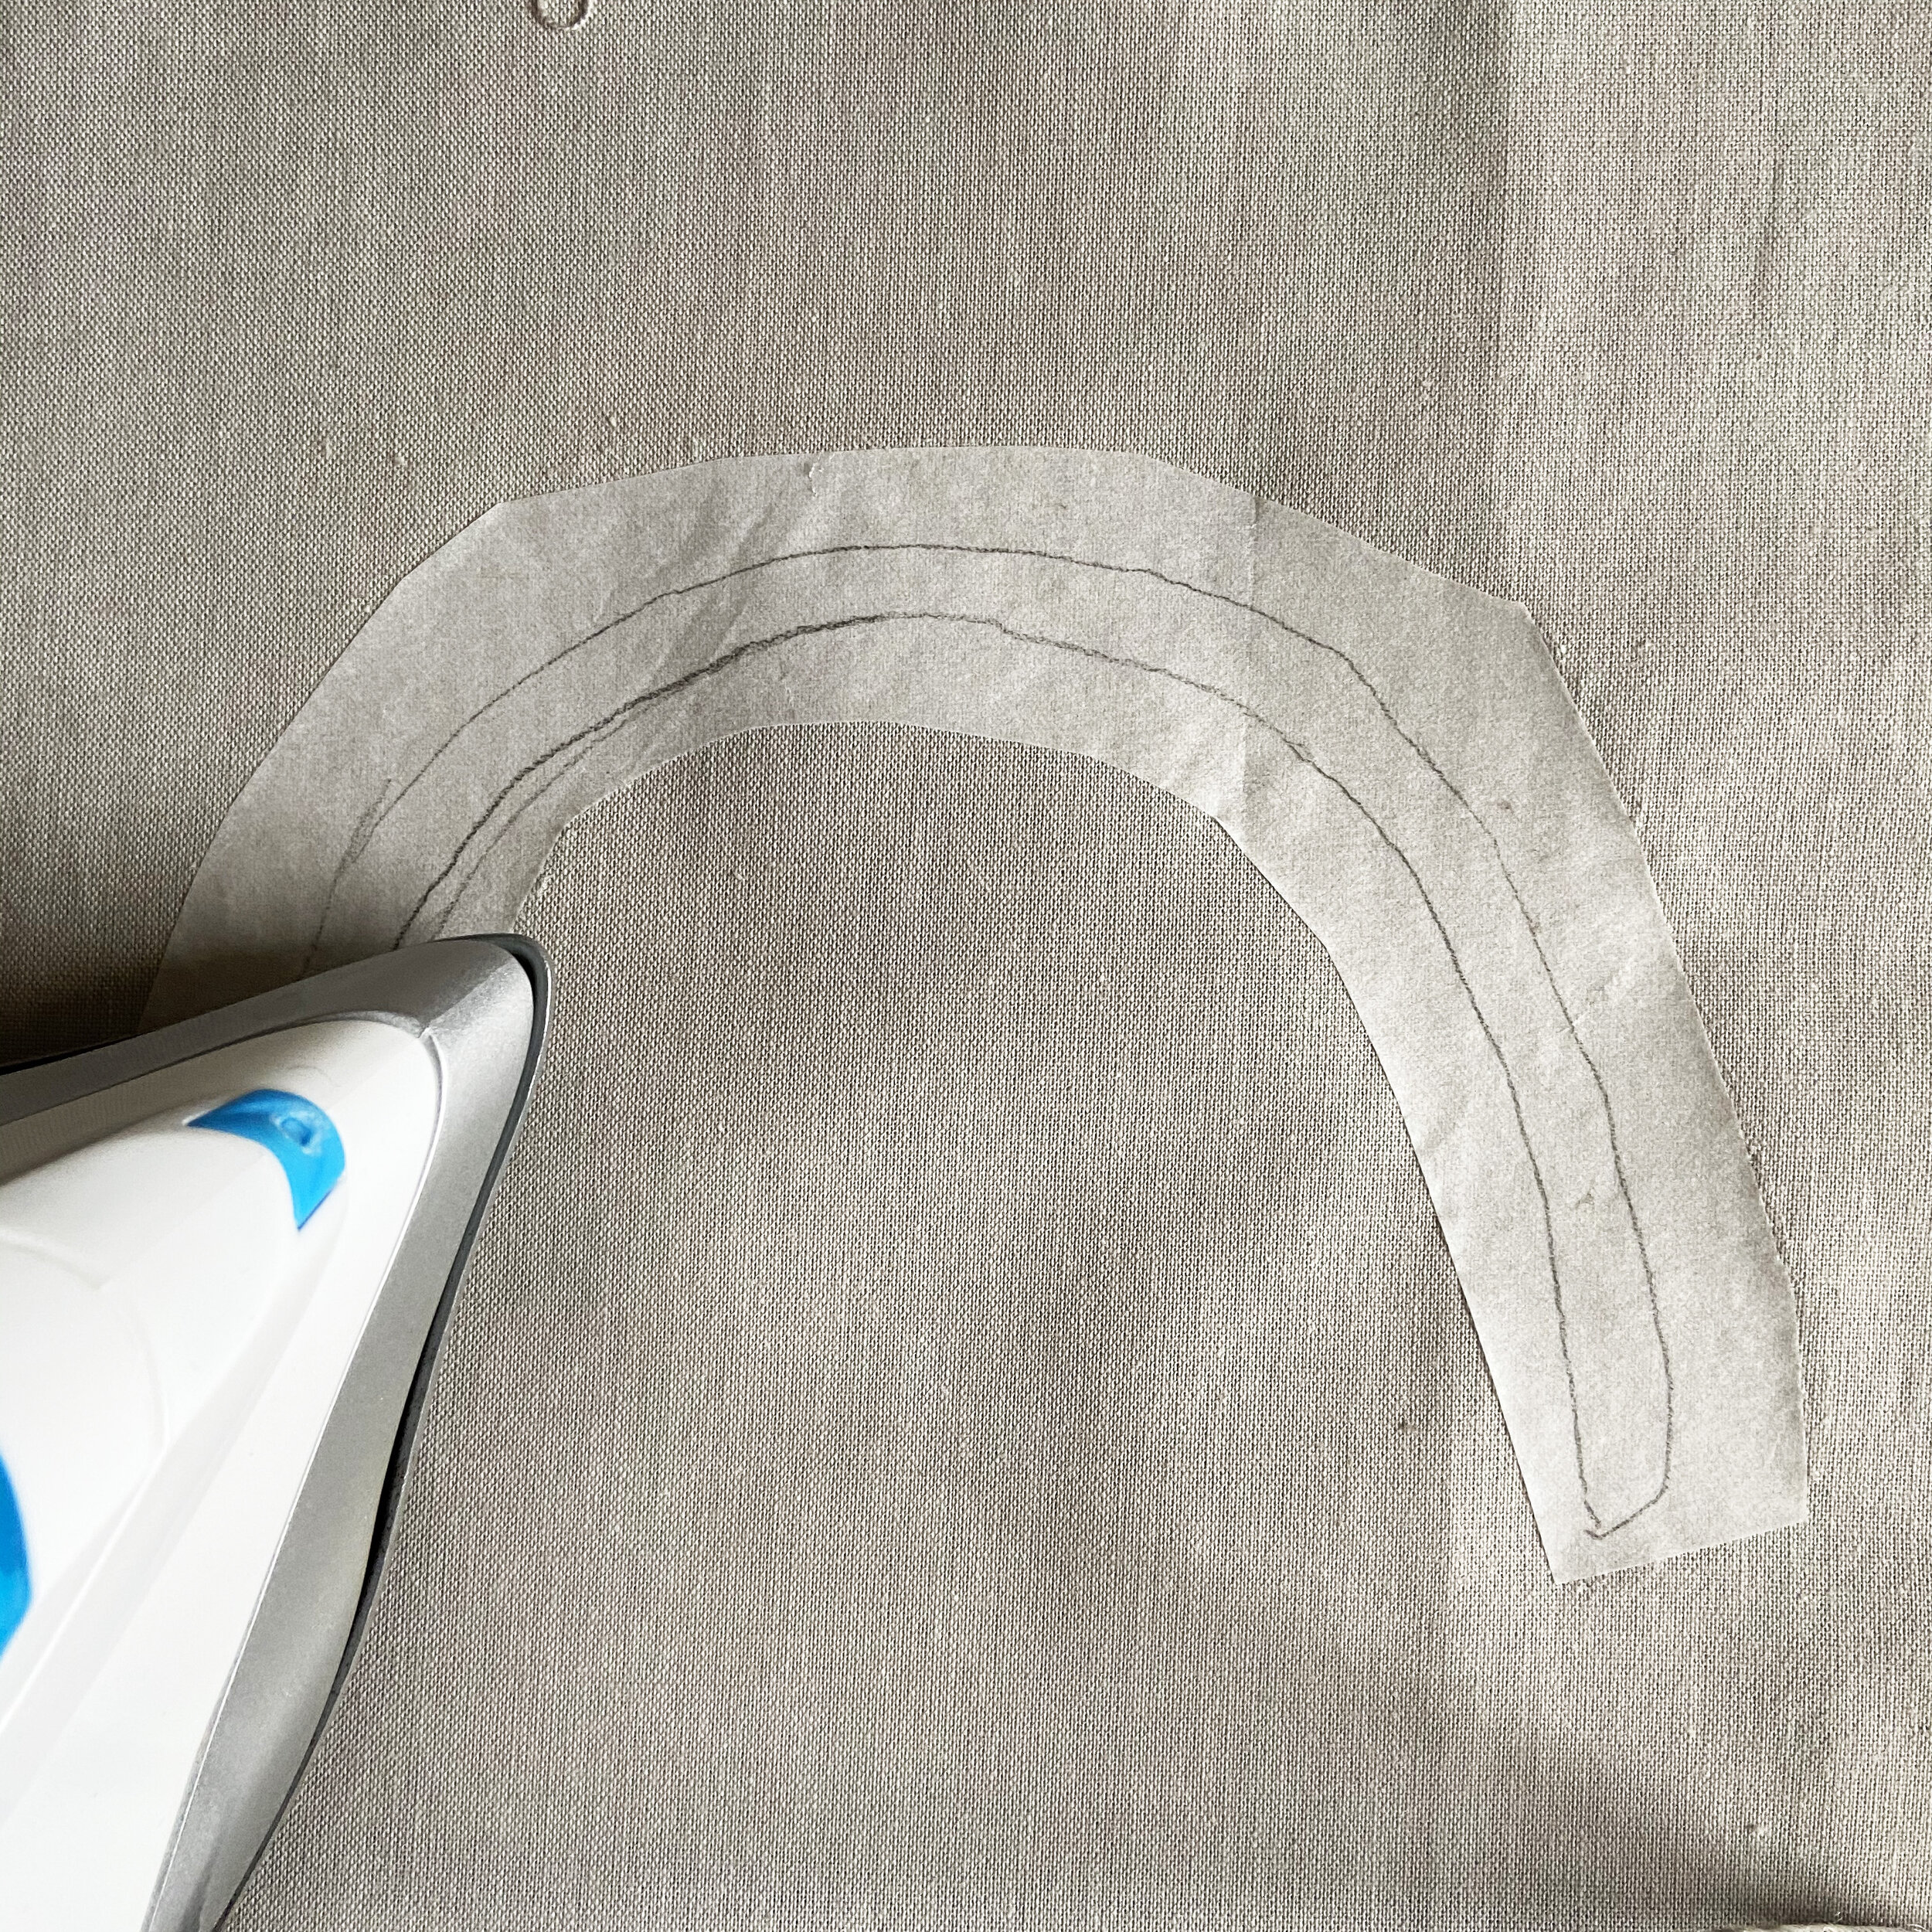
Cut out the rainbow motif paper pattern into separate pieces. Templates can be found here. Lay the pieces onto bondaweb and draw around each one, leaving enough space to cut roughly around each piece a little bigger than the pattern piece.
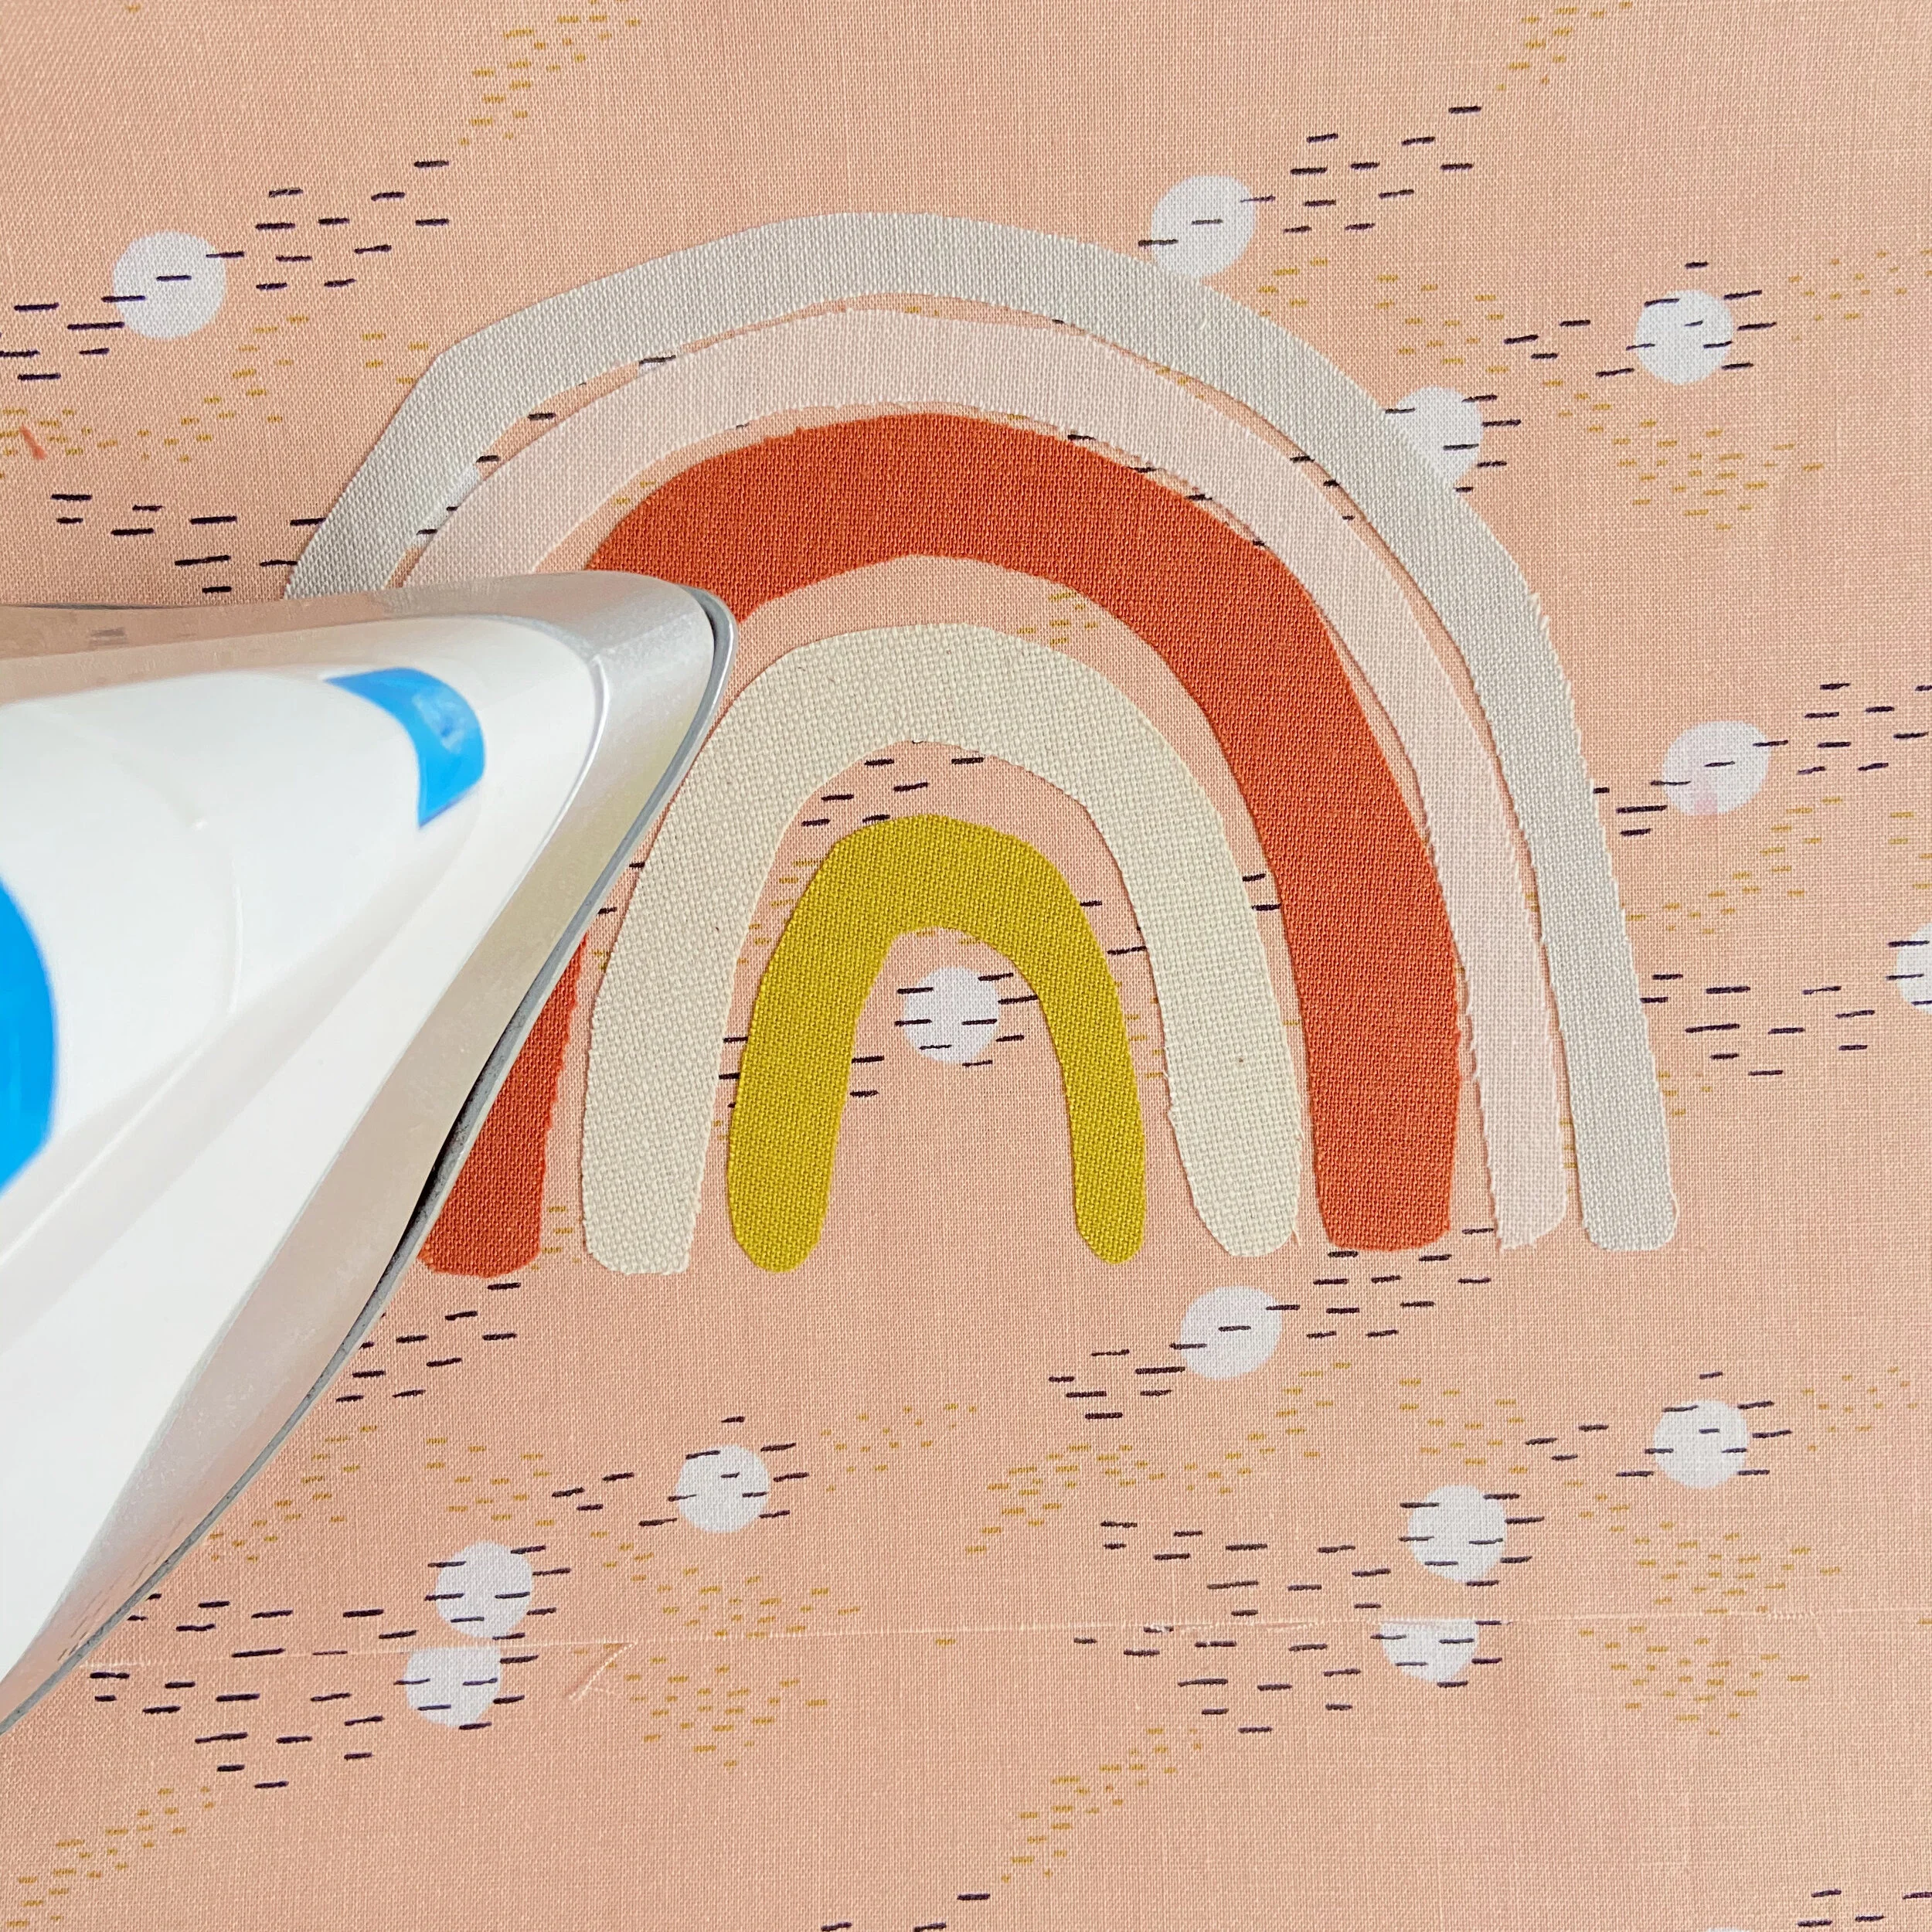
Place your bonda web rainbow pieces onto the back of your chosen scraps of fabric, paper side up, and iron them to stick them down.
Step 3
Cut neatly around each rainbow segment following the lines you have drawn, and peel off the paper. Repeat for each colour until you have all five rainbow colours.
Lay a ruler across your fabric 5cm up from the bottom short edge, using the ruler as a guide Lay the pieces from large to small inside each other with the bottom of each piece touching the ruler. Make sure the gap between the biggest piece and the edge of the fabric is the same on both the right and left-hand sides. Once you have all of the pieces in the right place iron them to stick them down. Be very careful to press down when you do this and not to iron from side to side so as not to move the pieces.
Step 4
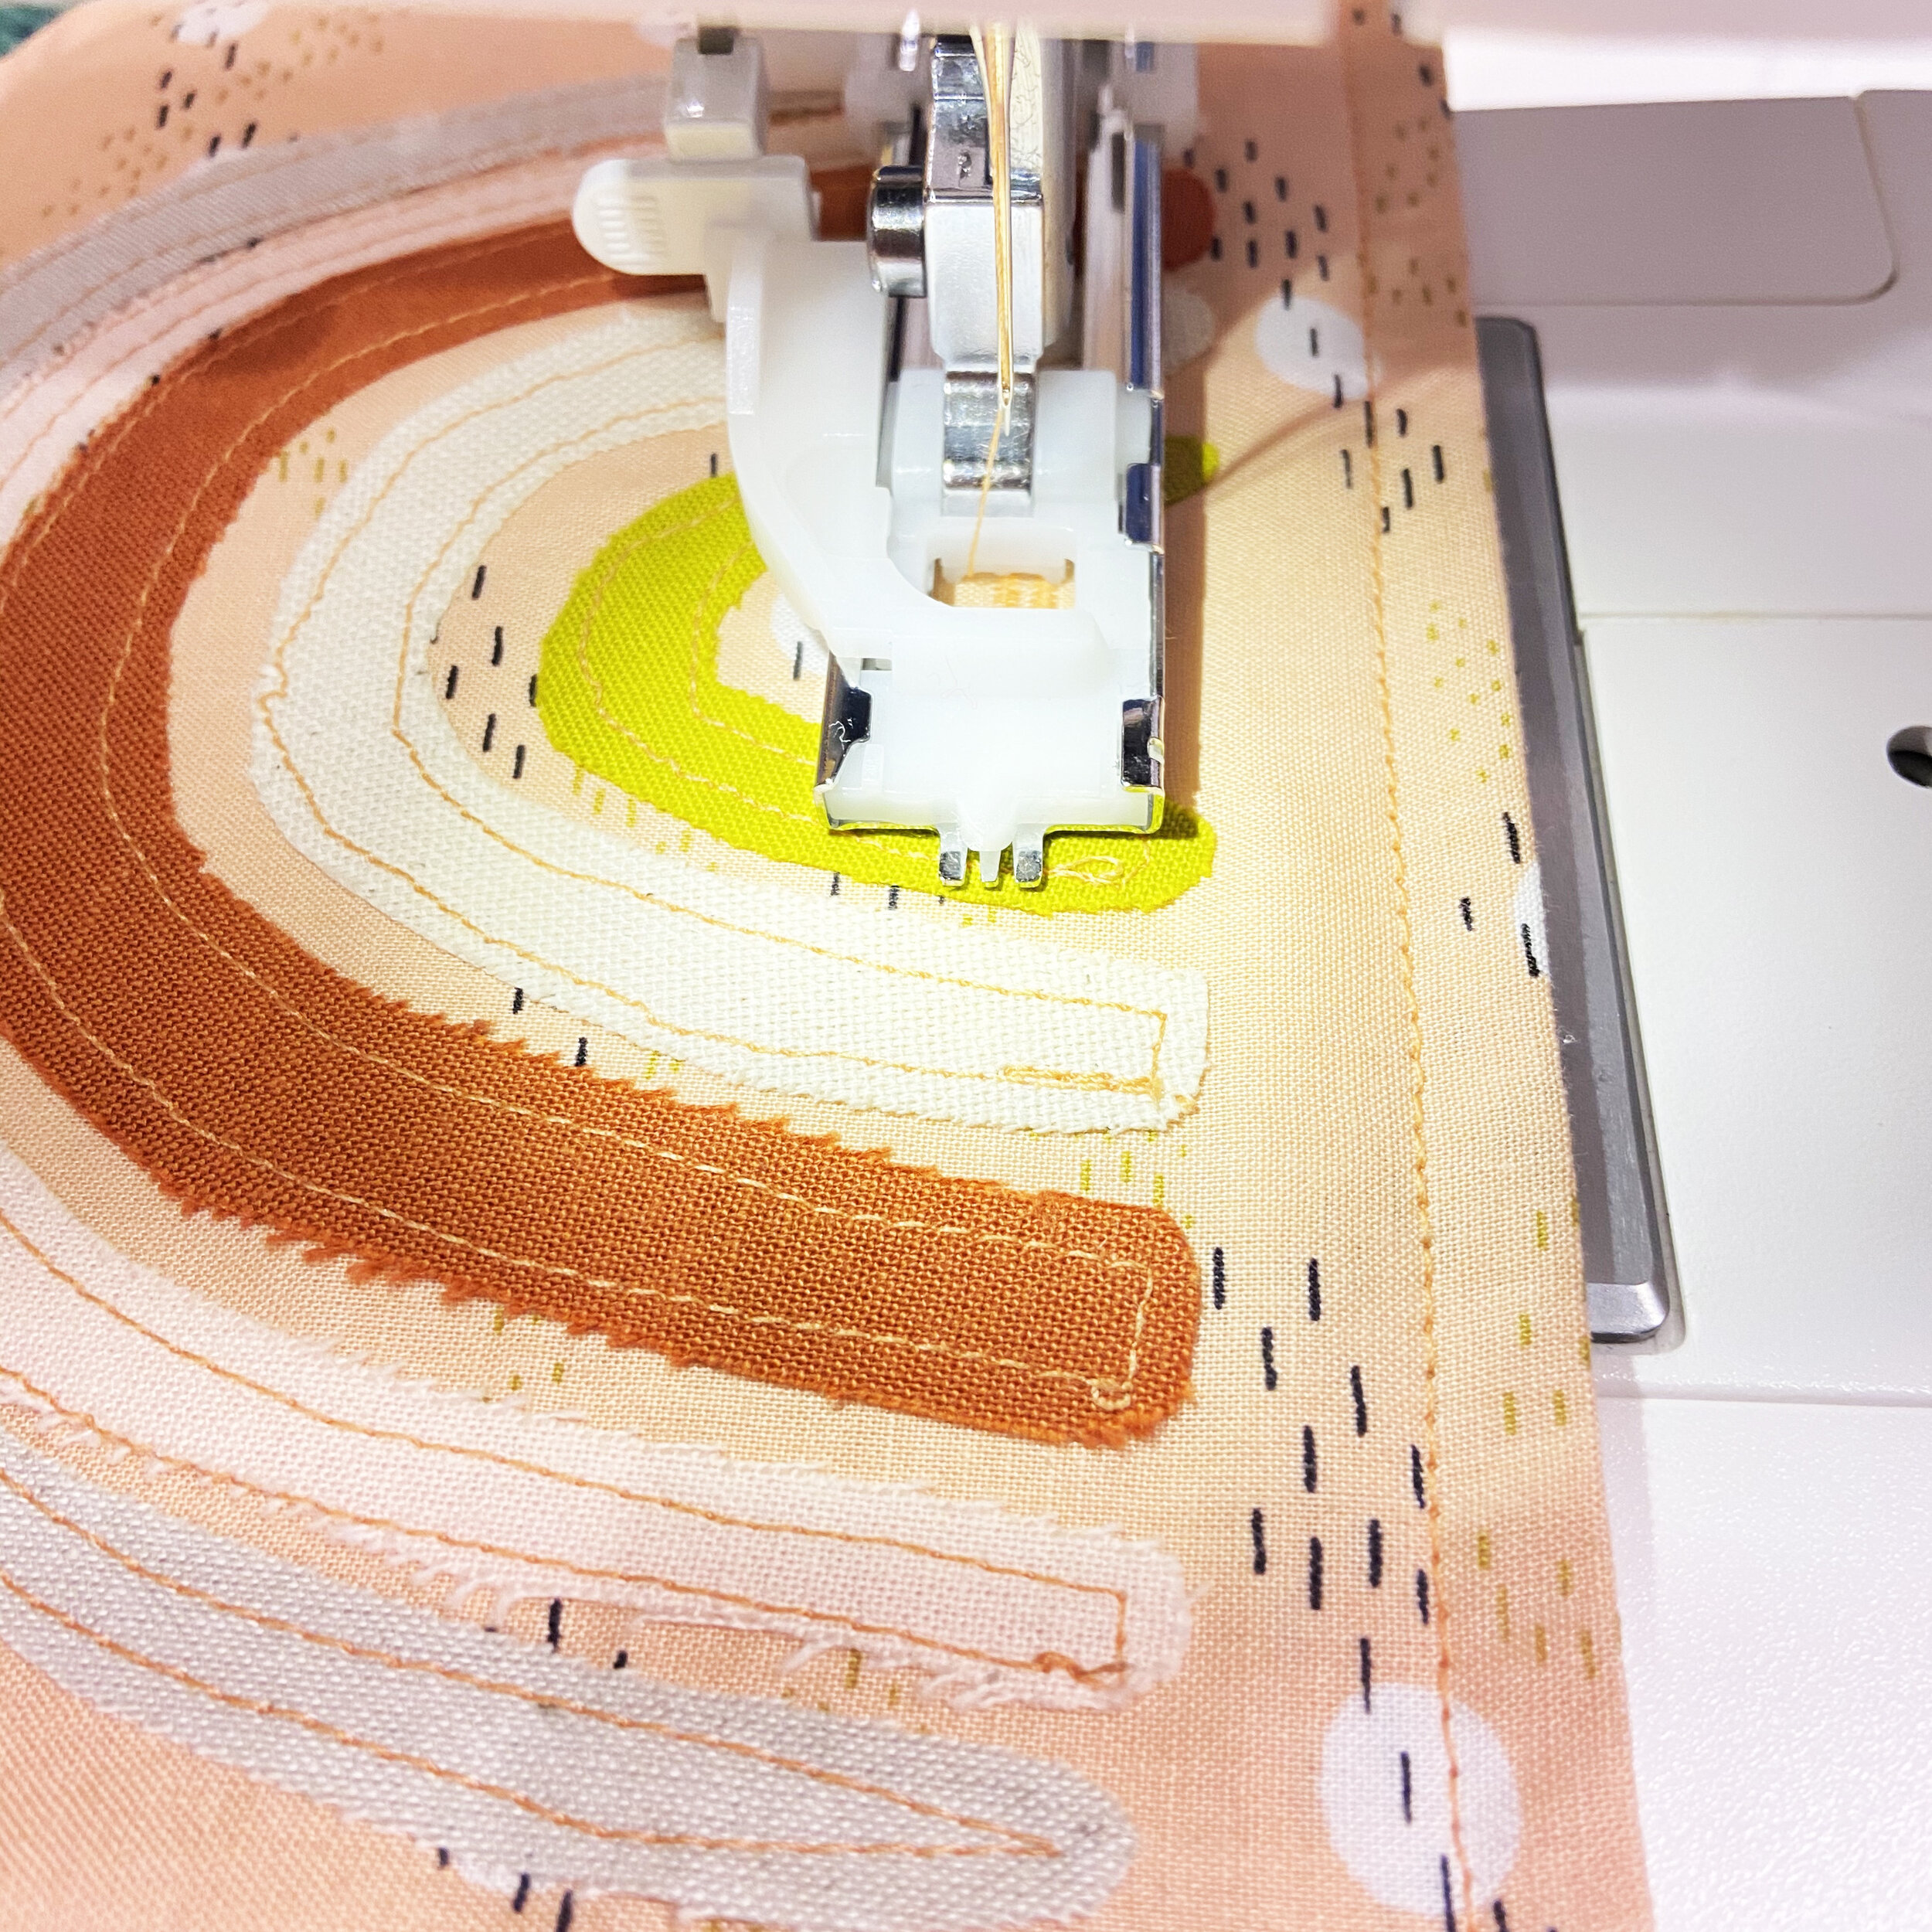
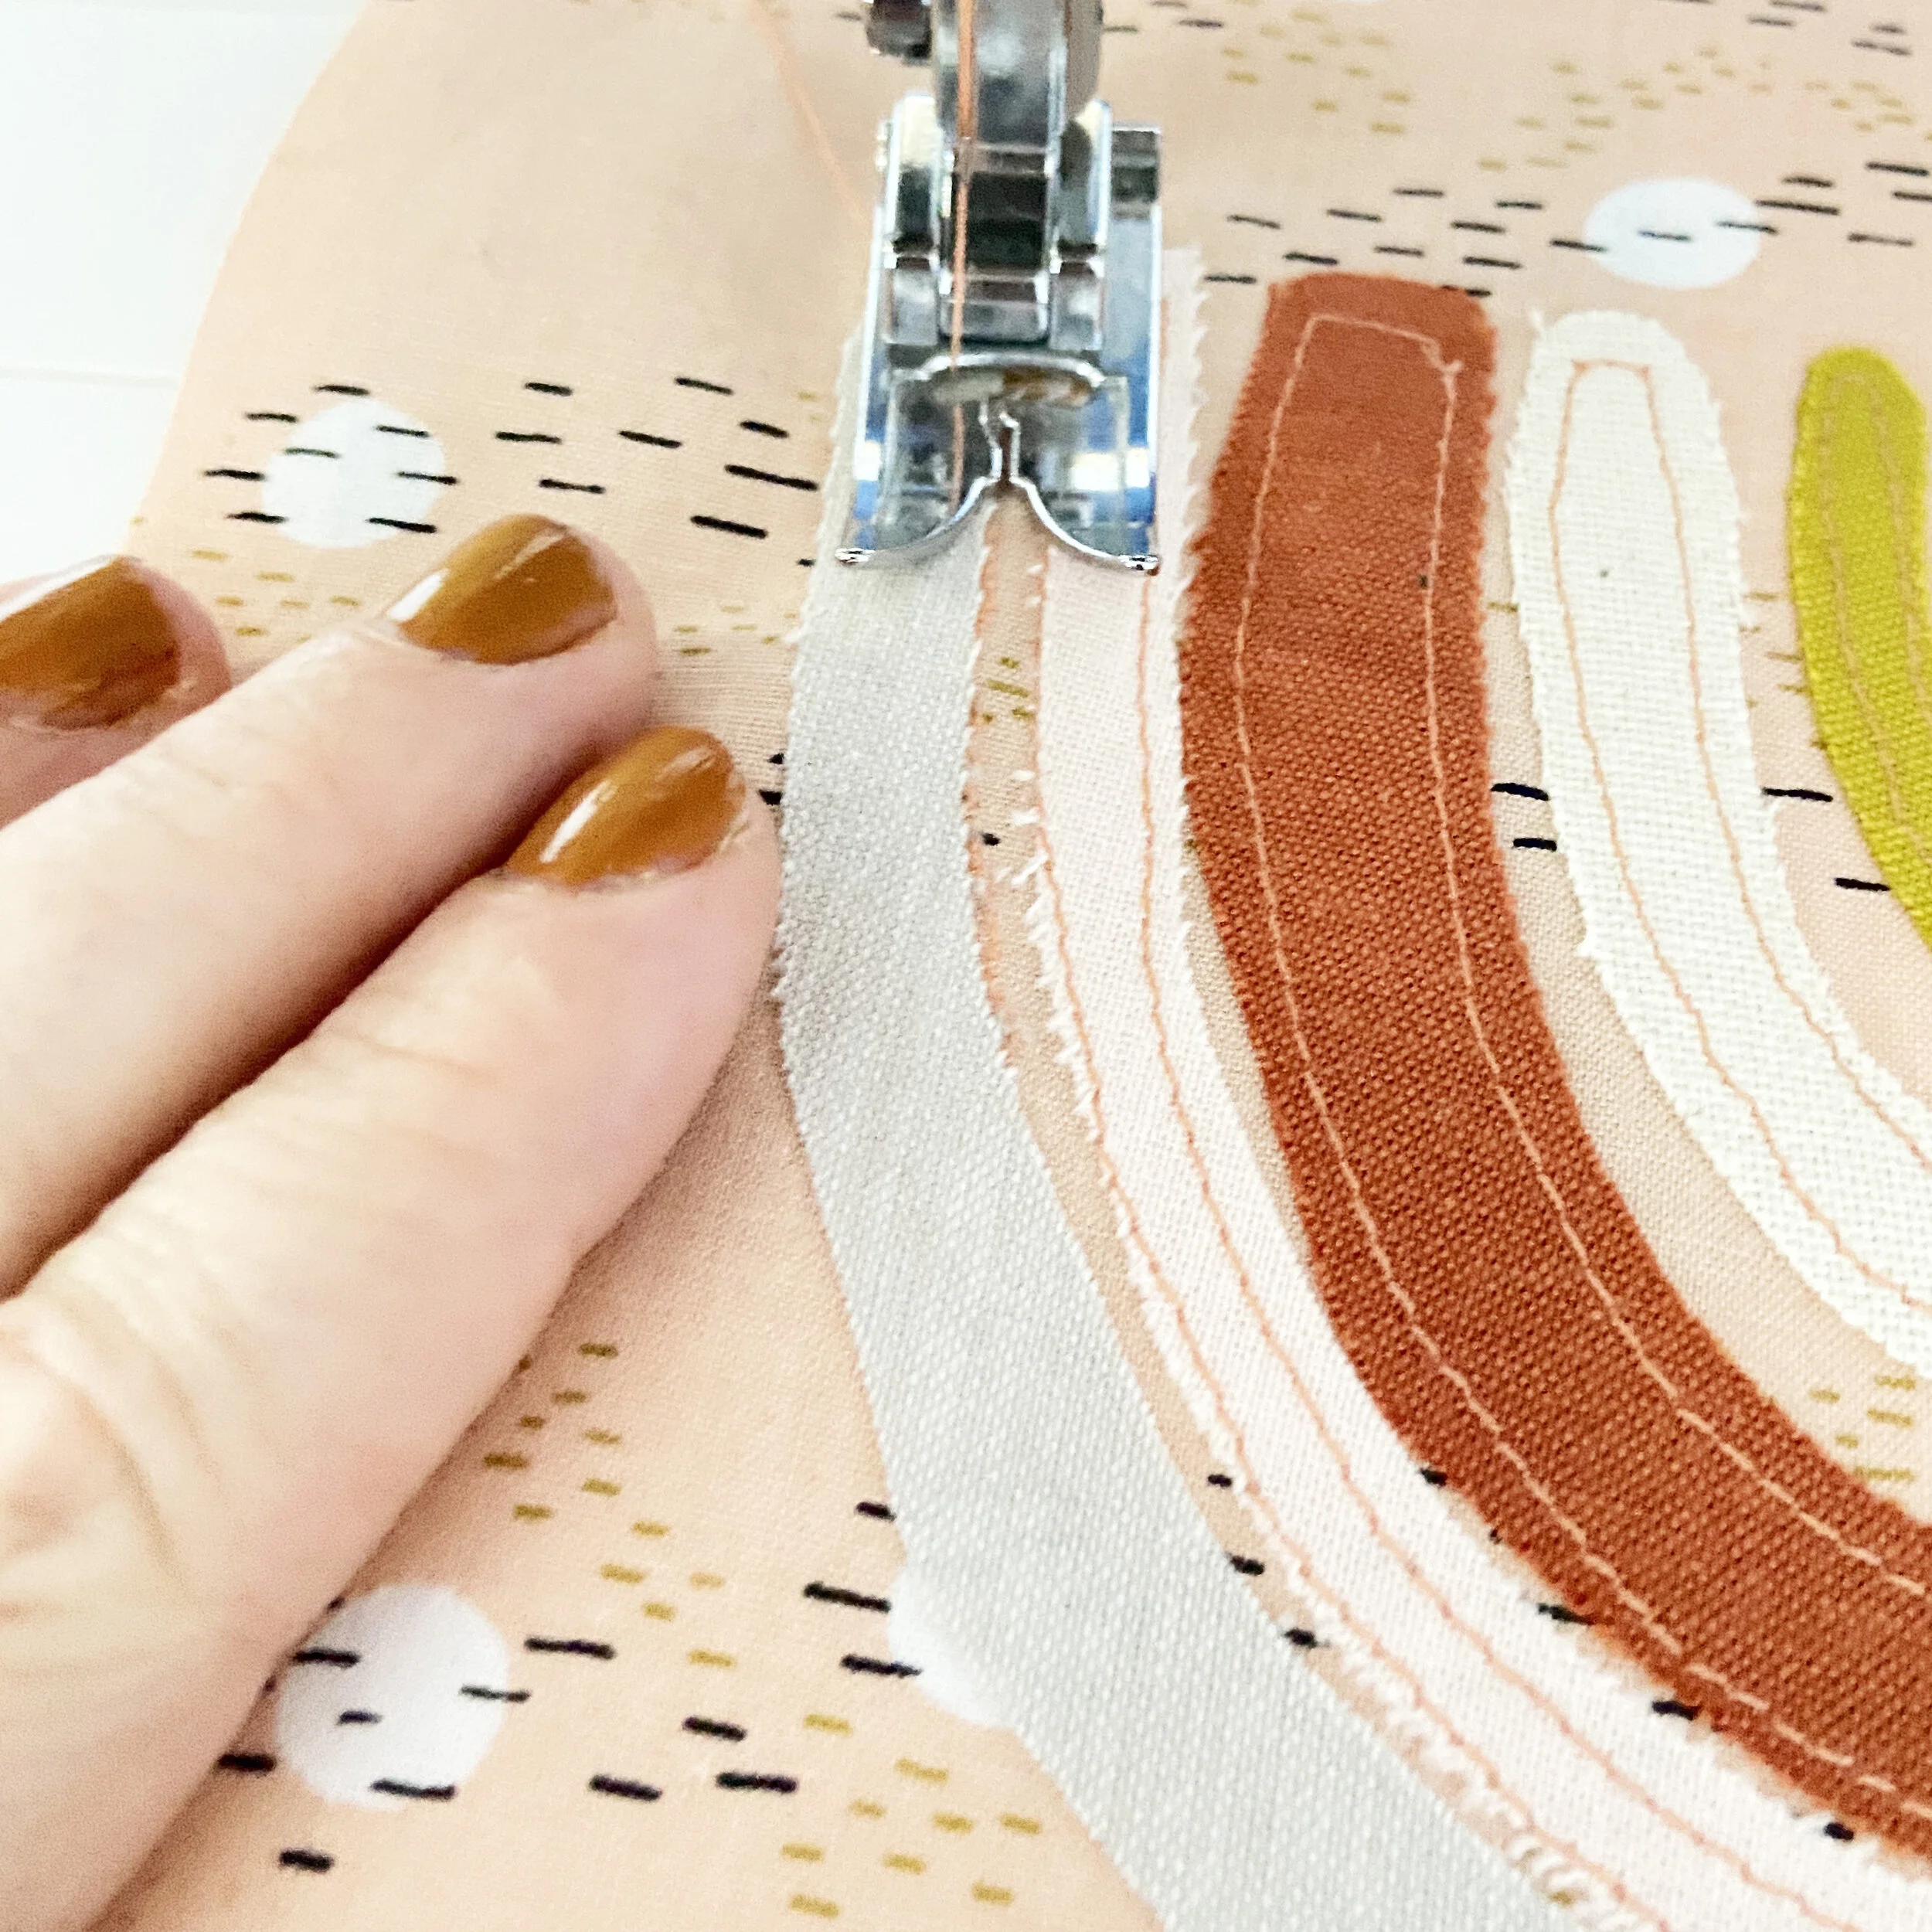
Thread up your sewing machine with pink thread and using a 2mm straight stitch, sew around the edge of each rainbow segment 2mm from the edge
Place your design into a 7” embroidery hoop and pull carefully to make the fabric taught. To make the dotty pattern; work French knots randomly over the pink section of the rainbow.
Step 5
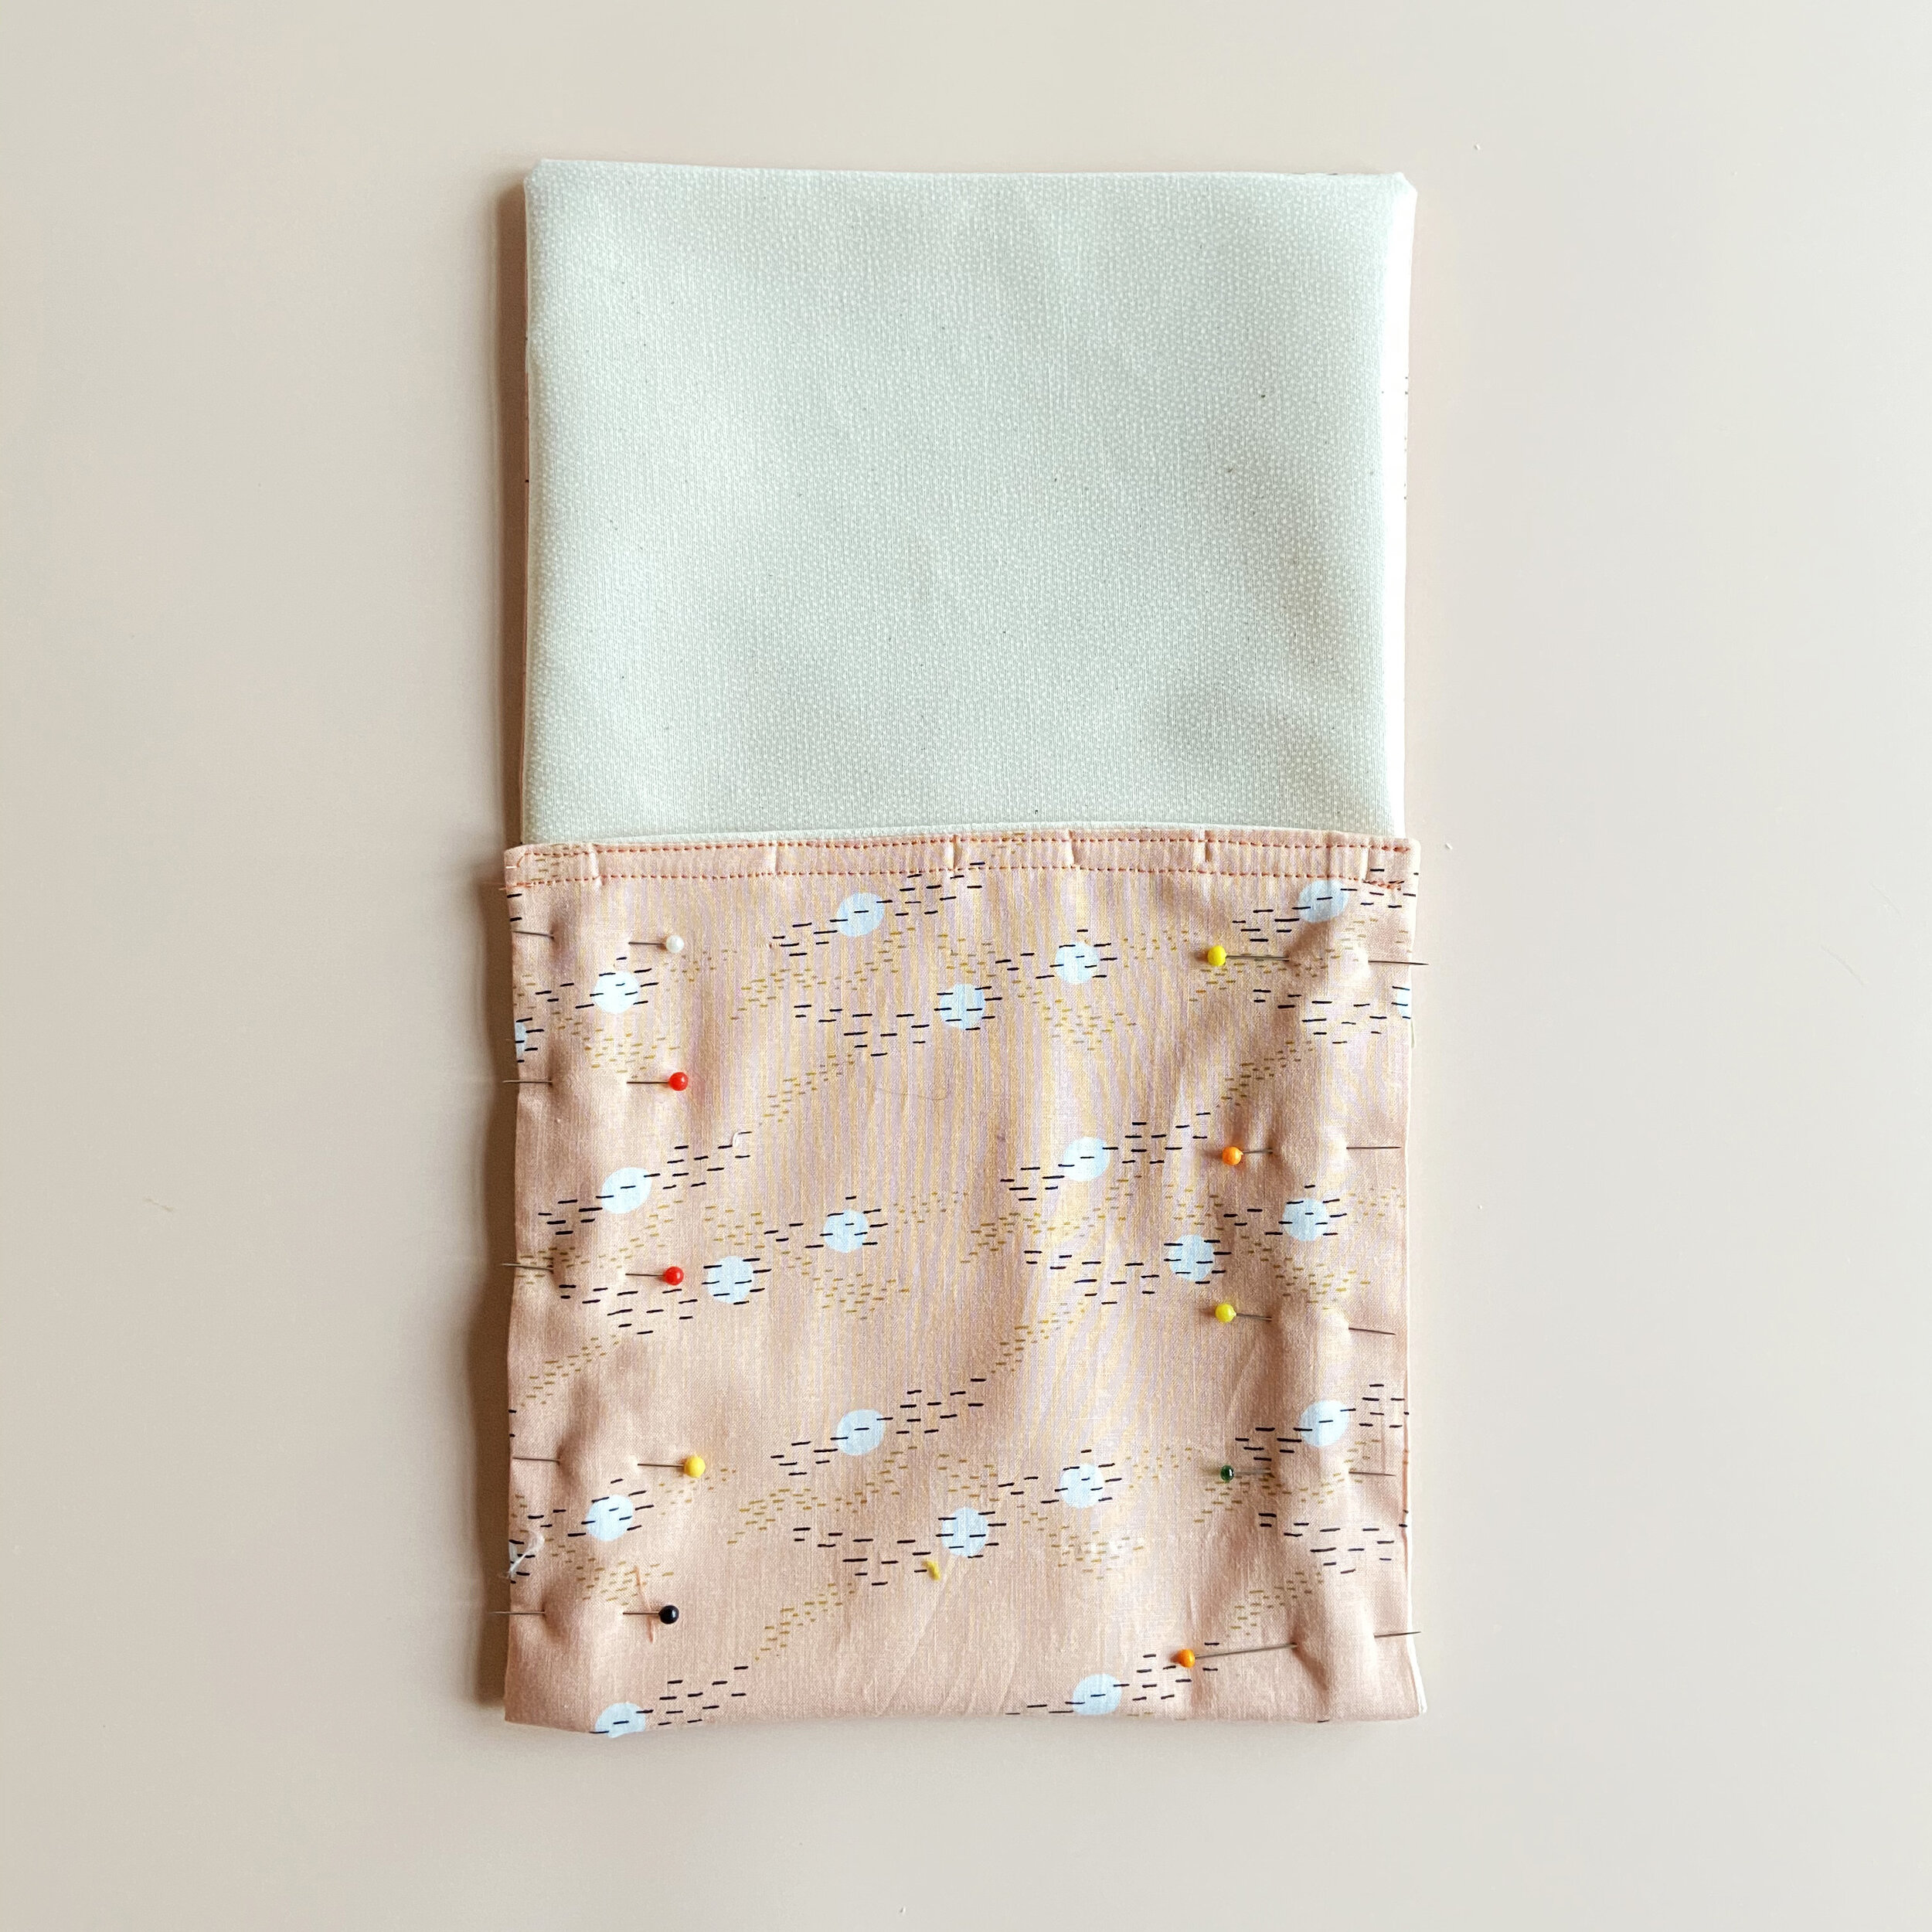
To construct the bag, lay your two pieces of fabric on the table right sides together and matching the edges up. Pin then sew together using a 1.5cm seam allowance and straight stich on your sewing machine, leaving the top edge open. trim your seams to 5mm and clip the corners. Turn the bag through so that the right sides are facing outwards.
Iron the top edges to the inside. Top stitch the seam closed. Lay the rectangle in front of you on the table with the shorter edge towards you, the pattern side facing down and the rainbow at the top. Fold up the bottom by 18cm. With the top flap open pin and sew the sides together 7mm in from the edge. Top stitch the top flap to neaten the edges 7mm from the edges.
Step 6
Using the buttonhole settings on your sewing machine. Create a button hole in the gap between the smallest section of rainbow. Cut the button hole carefully and sew the button to the fabric underneath so that it lines up with the button hole.
Fill with sandwiches!