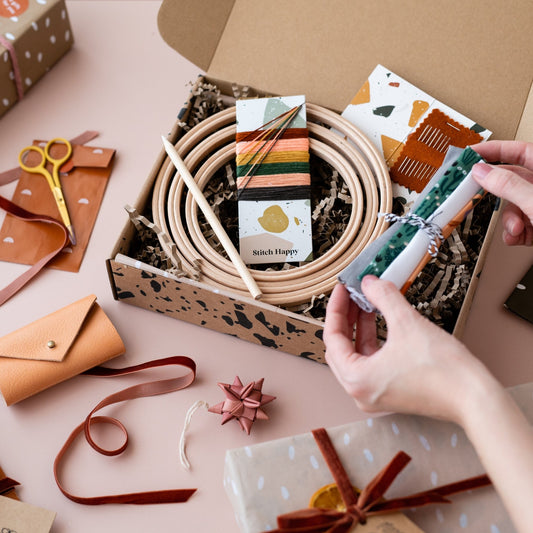
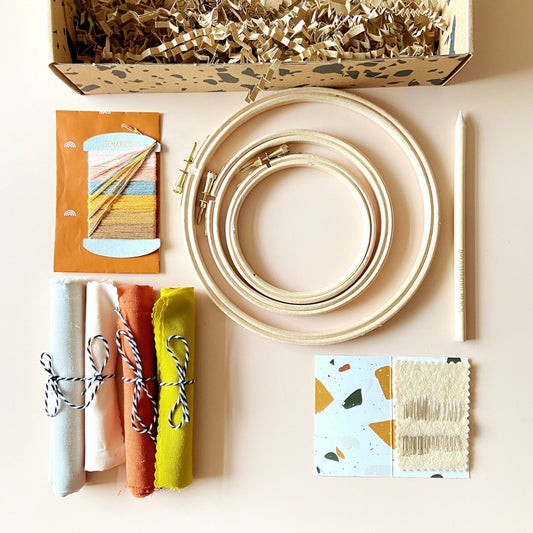
You will need
1x piece of natural fabric 25cm x 25cm 10” x 10” click here to purchase from our shop
3 x 40cm mini hoop necklace kits click here to purchase from our shop
Embroidery needle
8 “ Embroidery hoop Click here to purchase from our shop
Fabric marking pencil or pen click here to purchase from our shop
Embroidery thread
Peach DMC3341
Chestnut DMC 436
Grey beige 841
Mint green 564
Off white DMC 3866
Embroidery Stitches used
Fringing, satin, backstitch
Download the free pattern here.
Step 1
Hoop the fabric up into your 8" embroidery hoop. For instructions on how to do this see our blog post here.
Transfer each round shape separately onto your hoop making sure there is at least 4cm between them as you will later cut around each one. We used a water erasable pen and a Light box but you can use any light source such as a widow or computer screen to trace the patterns.
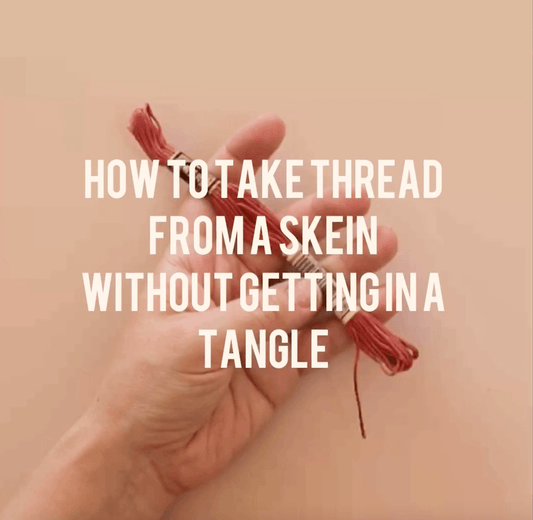
We use three stands of embroidery thread all the way through this pattern so split your embroidery thread down for each step. For tips and tricks on how to do this without getting in a tangle please see our hints and tips at the bottom of this post.
Step 2
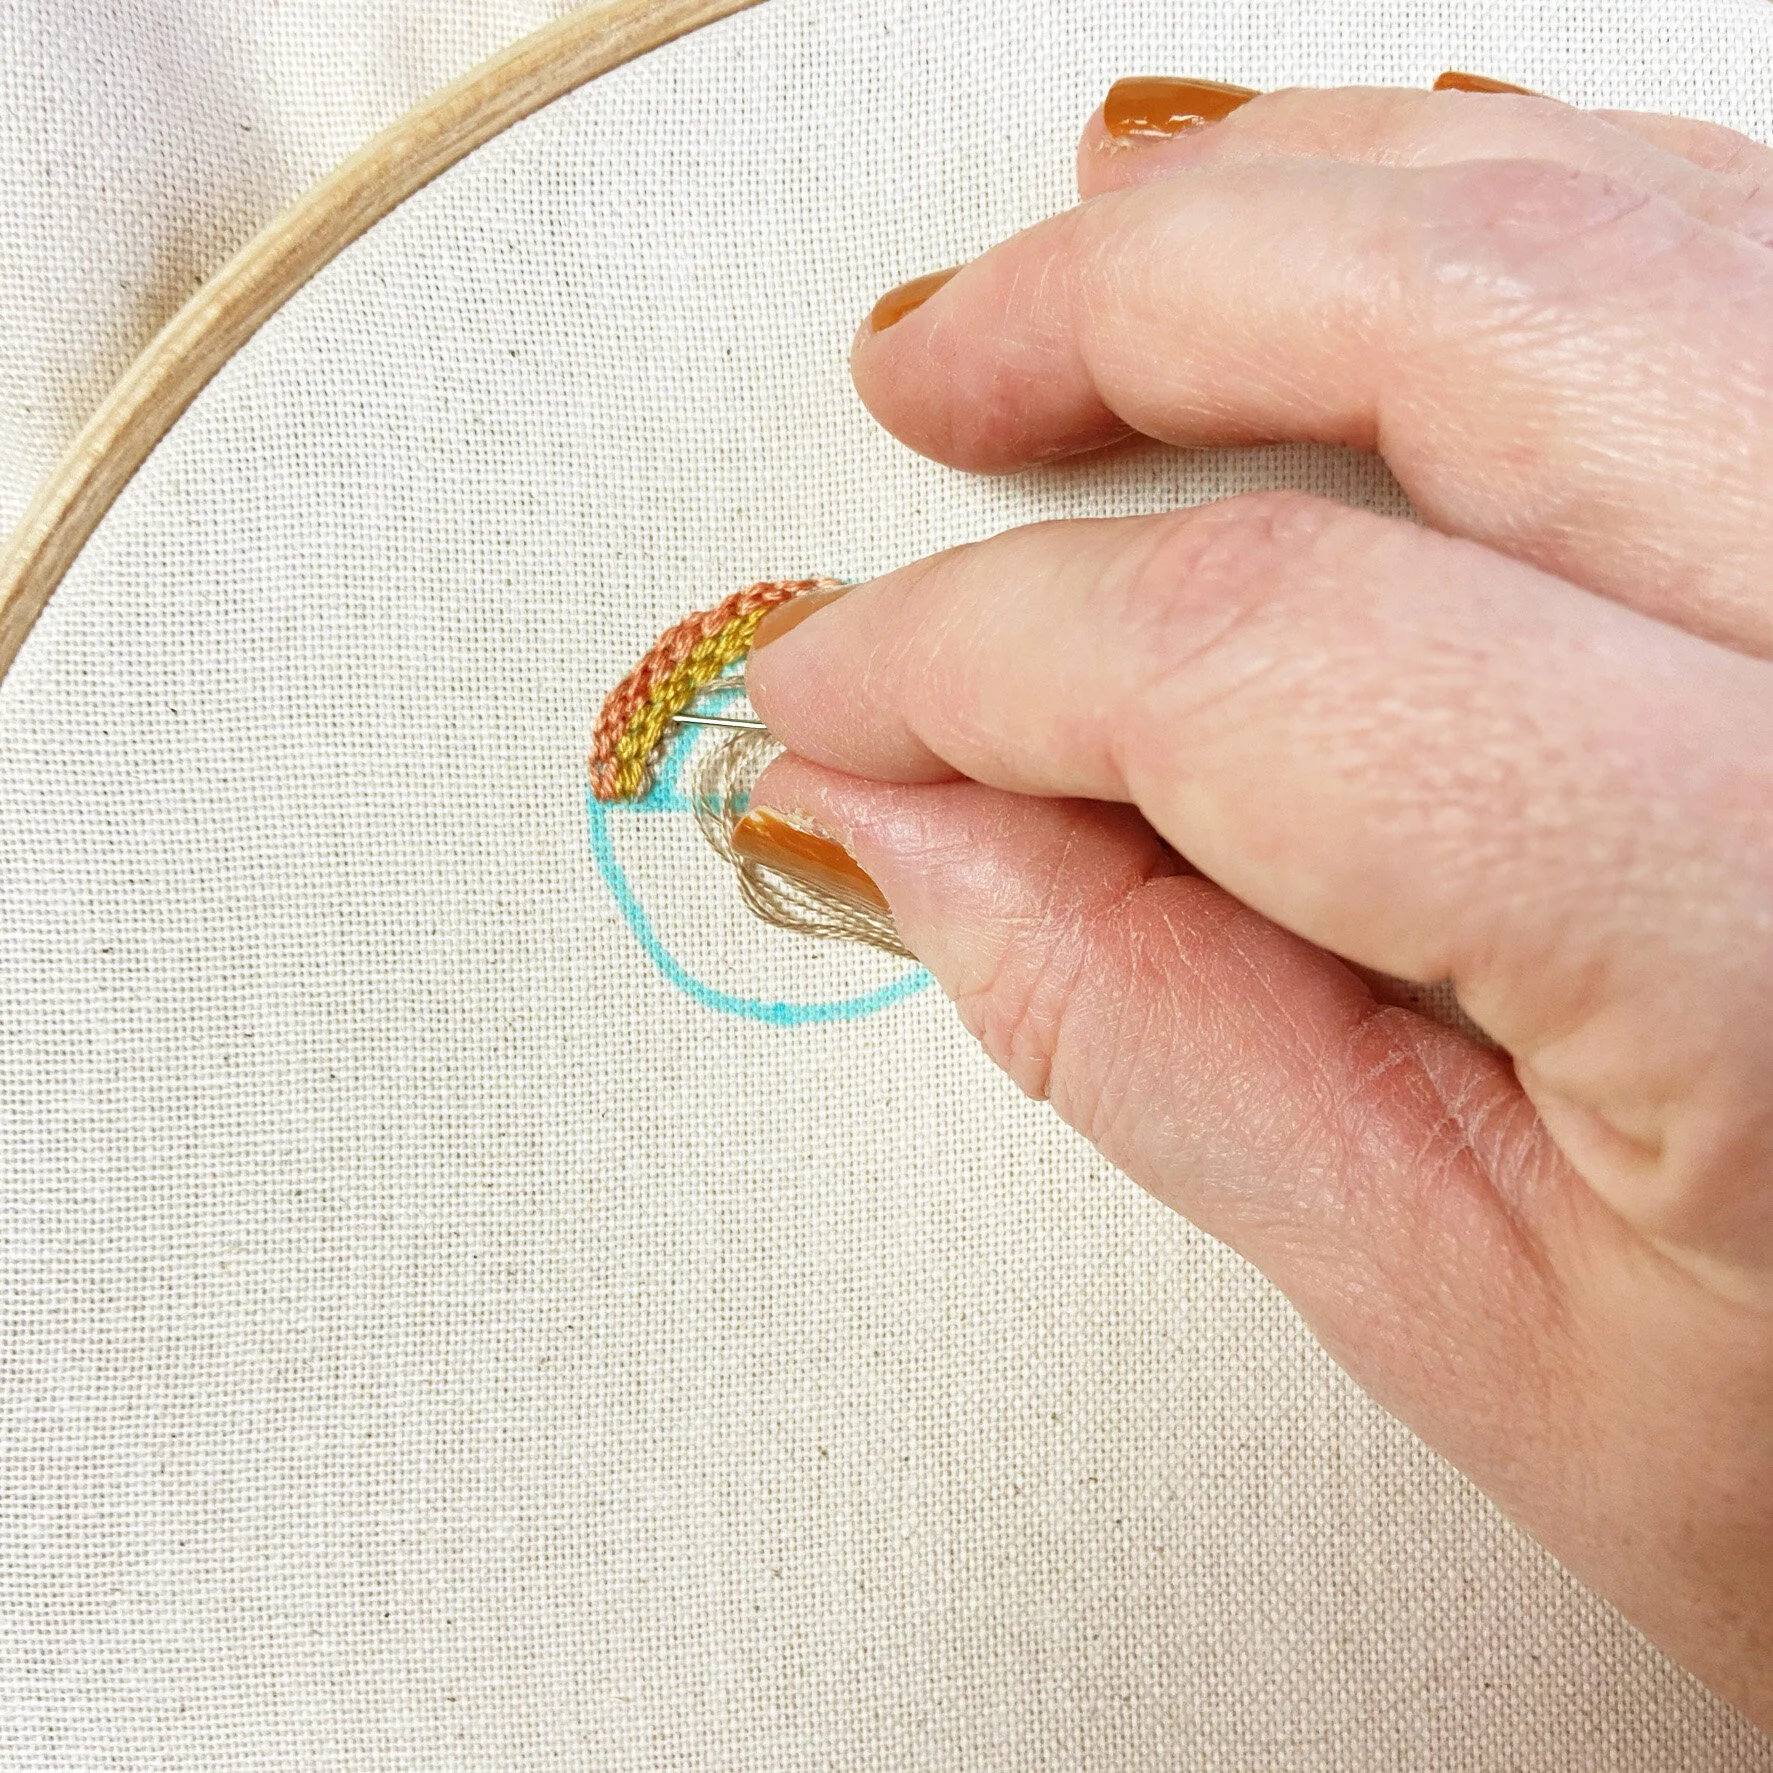
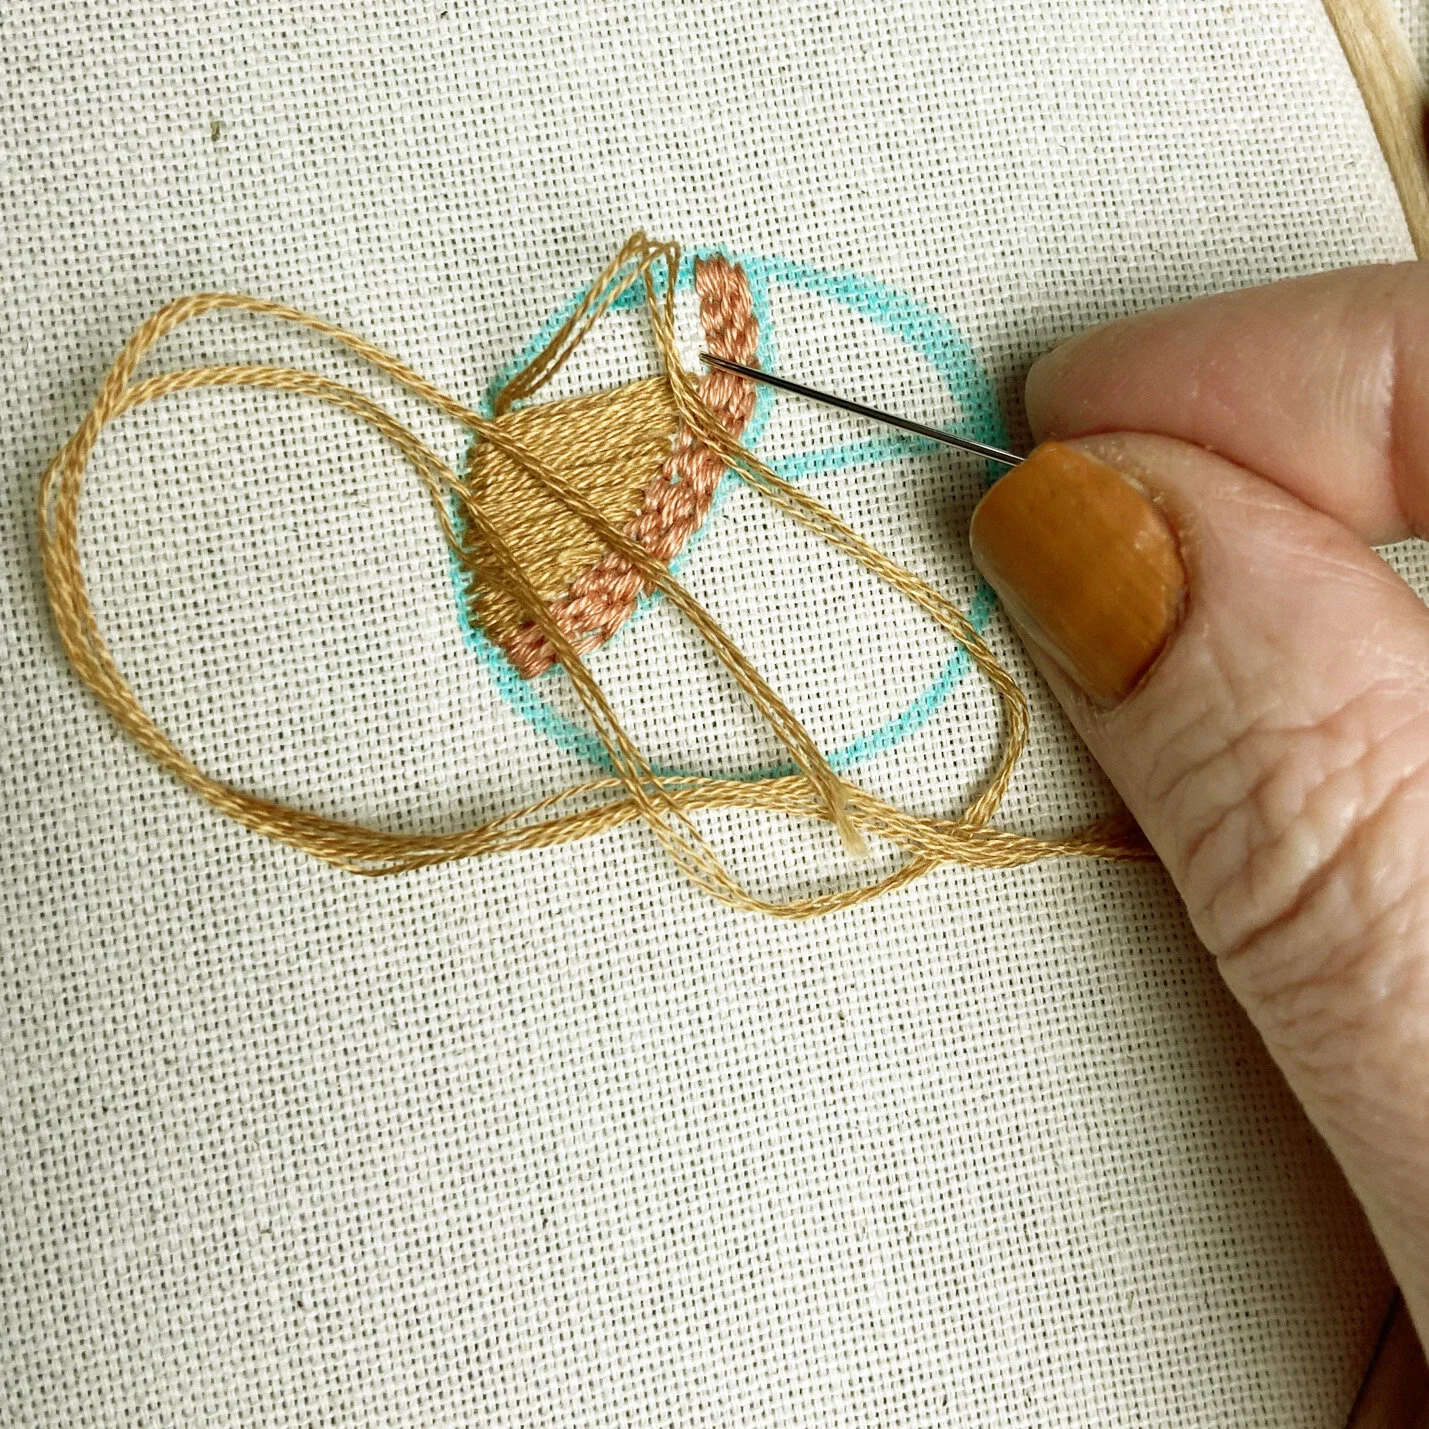
Start with pattern 1. With peach thread create a row of back stitch following the top arc in the top half of the pattern. Continue stitching backstitch rows next to each other until you have filled the top section. Repeat this step for mustard and then for beige. Each section should take three rows of backstitch next to each other to fill in.
Step 3

Next create the fringing on your necklace. Work from right to left to create fringing.
Coming up from the back of the fabric at the point you would like your fringe to start, loop the thread around and put your needle back into the fabric just to the left of where you have come up. Do not pull your thread all the way though but instead leave a loop of thread sitting on the top of the fabric, bring the thread back through the fist hole you created and create a straight stitch over both threads to secure. Continue in this way until you have all of the fringing you require. Brush the thread flat and trim with sharp scissors. Where the fringing overlaps, create the colour you want on the top first and then create the fringing of the second colour underneath.
Step 4
Move on to pattern 2. Starting with the chestnut colour fill the left-hand section with horizontal satin stitch. Next fill the right-hand section with vertical satin stitch. Create the bands of peach and green using backstitch as you did in pattern 1.
Create the fringing as you did for pattern 1 Starting with the peach colour and then using chestnut and white.
Step 5
Now try pattern 3. Start by filling in the top and bottom band with satin stitch. To make the satin stitch work around the curve, create stitches fanning from the centre out around the section and then fill them in, some stitches may go slightly behind others. Outline the satin stich with a row of running stitch top and bottom. This will help neaten any stitches that may have a messy edge. Now fill in the band across the middle with chestnut satin stitch, again work the top and bottom with running stitch to neaten. Lastly take the mint green and fill in the two squares at each end of the central band .Create fringing above the bottom band of satin stitches with the mint green thread.
Step 6
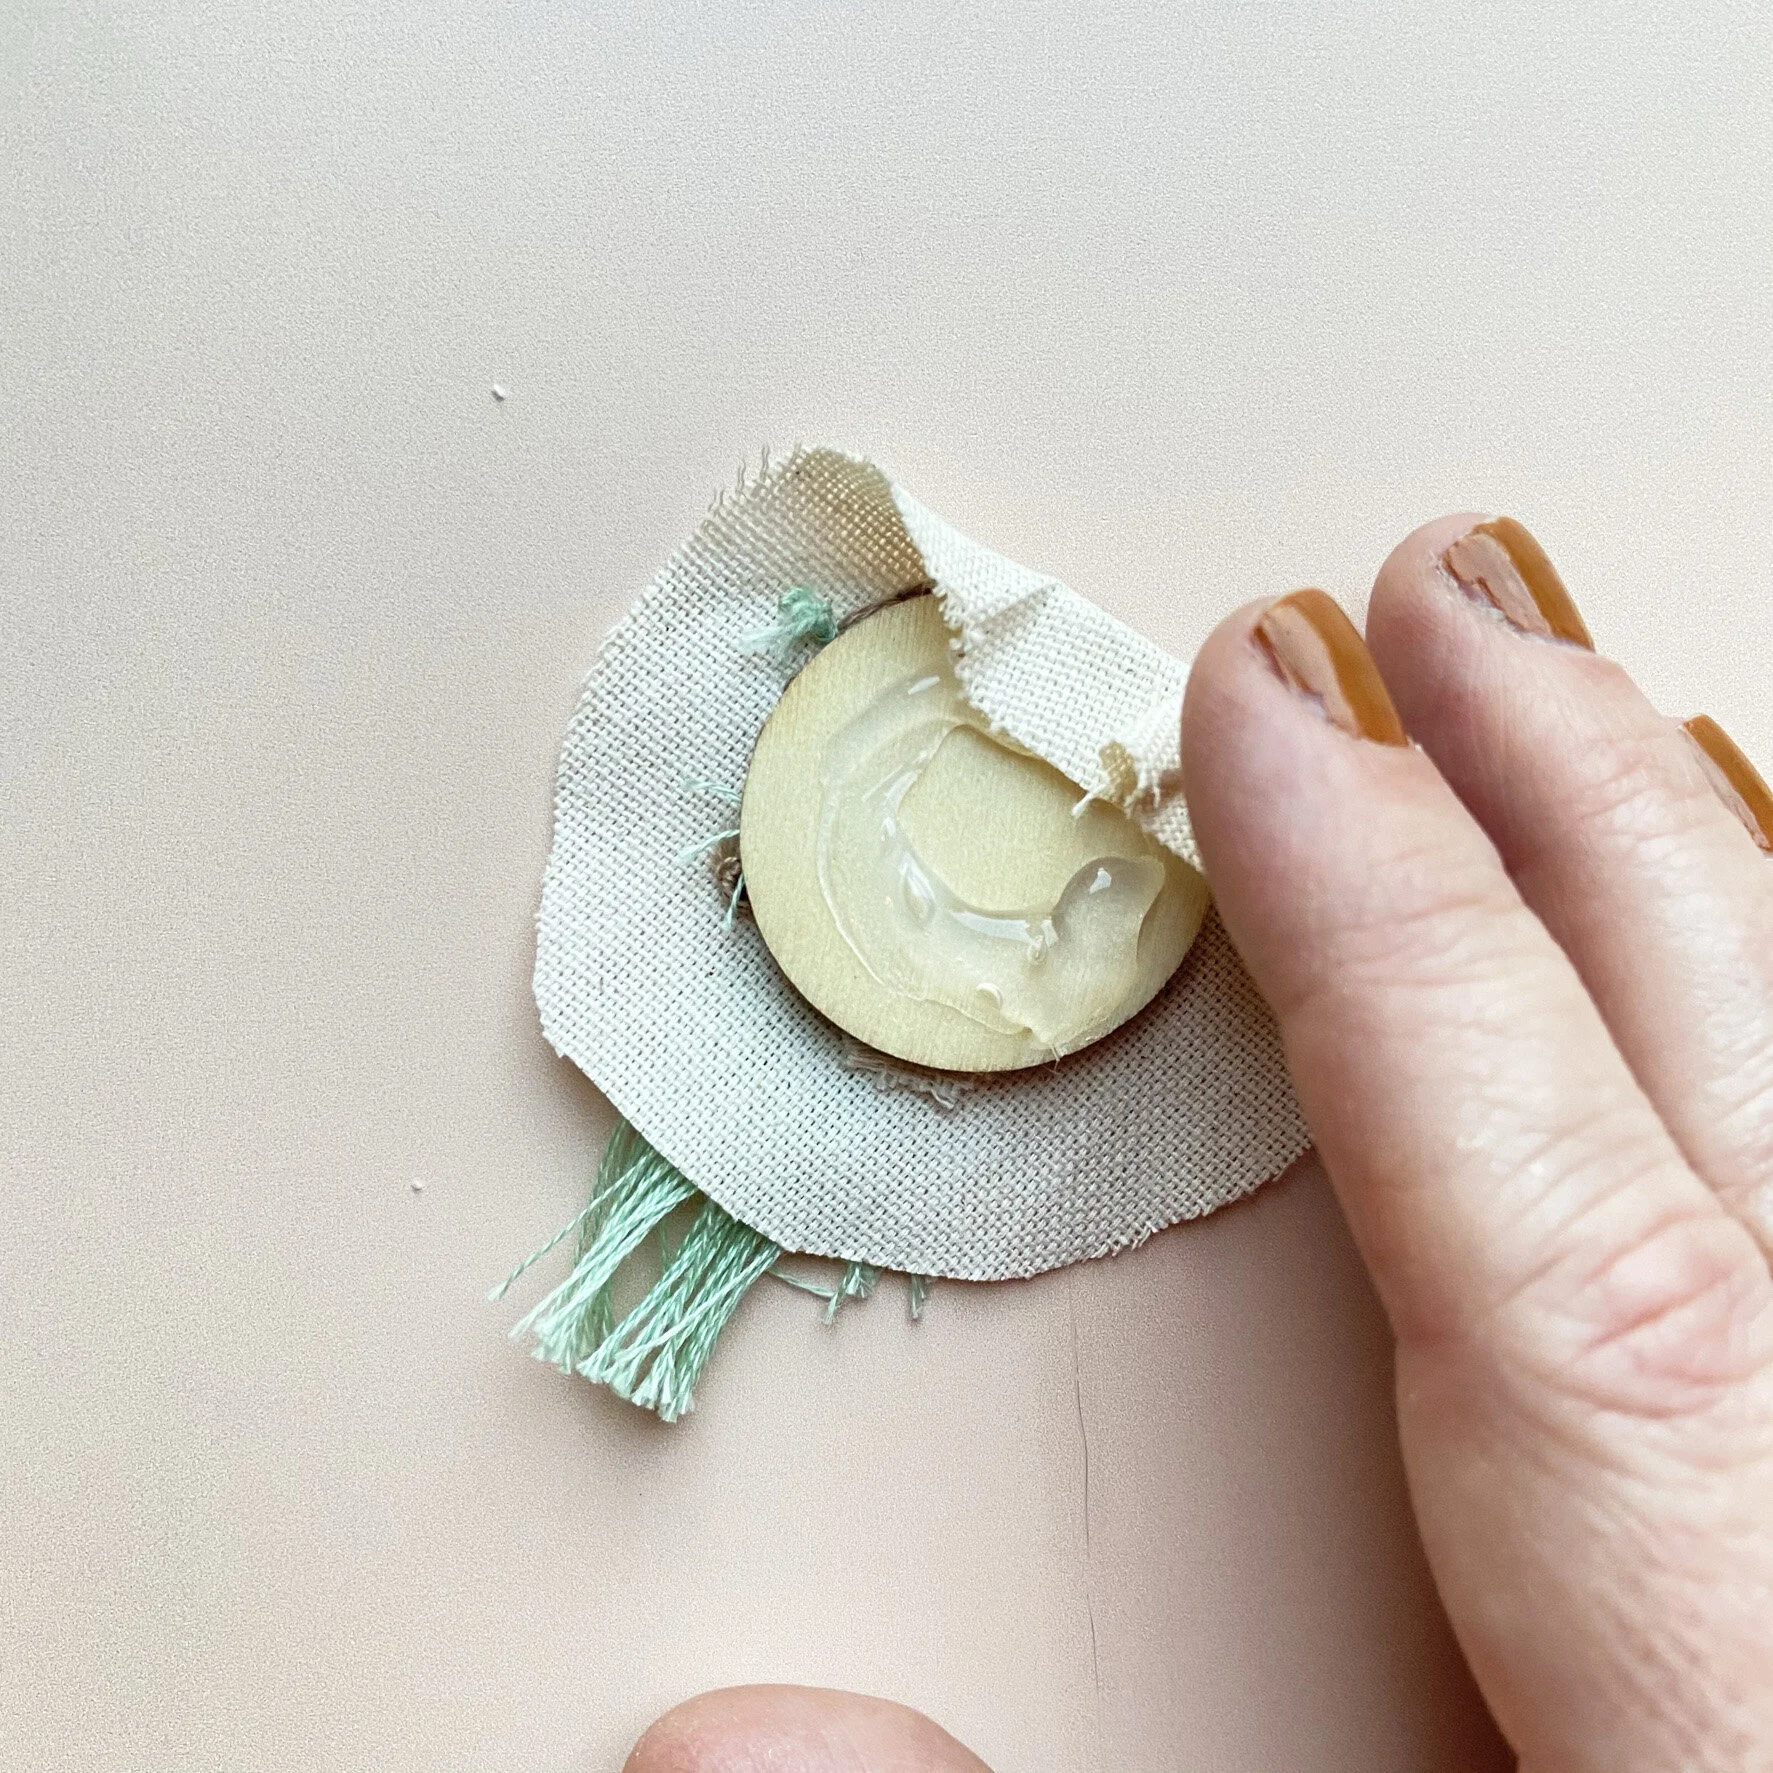
To mount your necklaces in their frames cut around each hoop leaving a boarder of fabric of 1.5cm. Place you design face up onto the smallest flat wooden piece wrap the excess fabric to the back and glue using a glue gun or fabric glue. Place your design into the hoop and tighten the clasp at the top until it feels secure. Glue the larger wooden circle onto the back of the hoop to hide and protect the back of the stitching.
Special tips
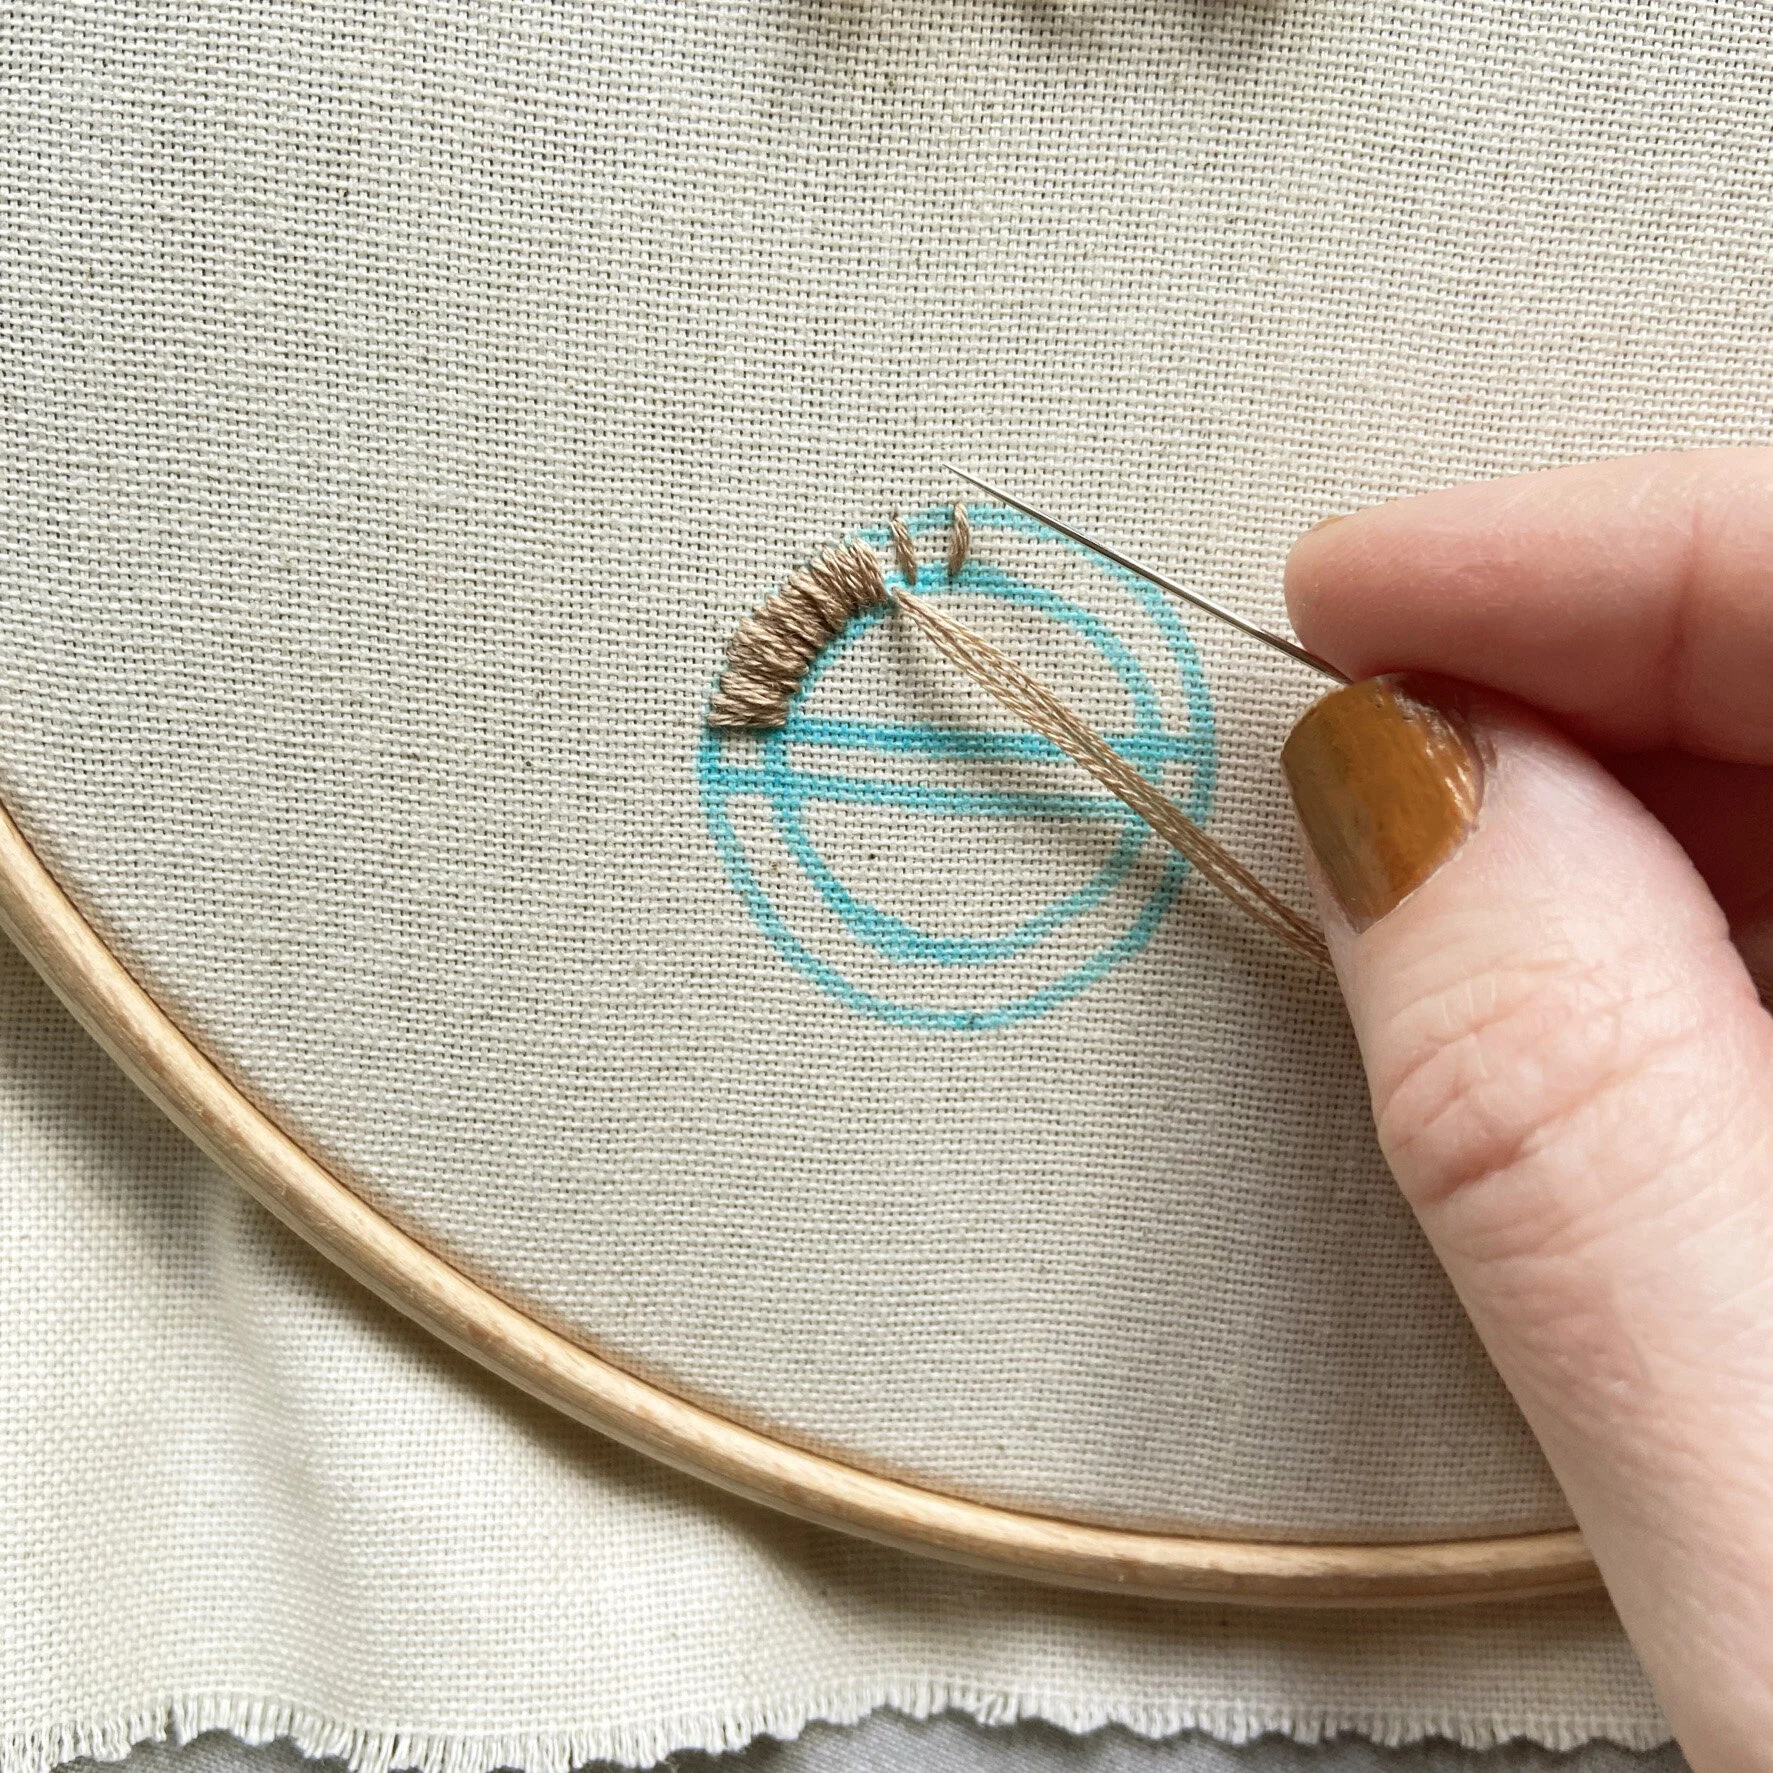
1) If you are getting in a tangle separating the threads try this easy technique: cut your thread to length. Hold your thread at the top between your forefinger and your thumb. Pull ONE strand of thread upwards away from your finger and thumb. This strand should some away easily and the rest of the threads will gather behind your finger and thumb, pull it all the way out then smooth back the rest of the threads, repeat for however many threads you require.
2) To get your fringing to lie straight and flat, brush them carefully with a hair brush!